Android Firebase Credentials
Android Firebase Credentials
Step-by-step guide for setting up Firebase Cloud Messaging (FCM) credentials for Android push notifications.
To send push notifications to Android apps, Hood uses Firebase Cloud Messaging (FCM). This guide walks you through creating a Firebase project, generating the required credentials, and uploading them to Ocamba.
Requirements
Before starting, ensure you have:
- A Firebase account
- An Ocamba Account
- Your Android app’s package name (e.g.,
com.yourcompany.yourapp)
Step 1: Create a Firebase Project
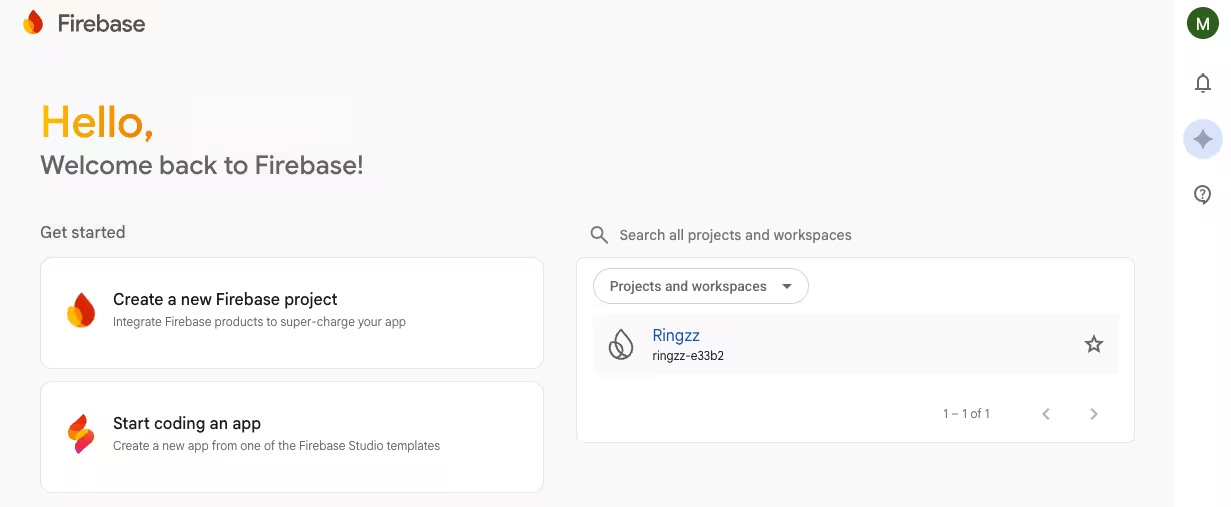
1.1 Access Firebase Console
- Go to the Firebase Console
- Sign in with your Google account
- Click Create a new Firebase project (or select an existing project)
1.2 Configure Your Project
- Enter a project name (e.g., “My App Push Notifications”)
- Choose whether to enable Google Analytics (optional)
- Click Create project
- Wait for the project to be created, then click Continue
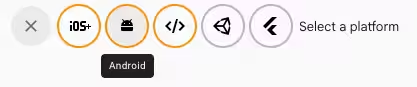
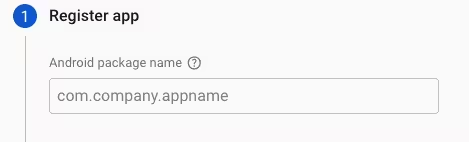
2.1 Register Your App
- In the Firebase Console, click Add app and select the Android icon
- Enter your Android package name (must match your app’s
applicationIdinbuild.gradle)
- Optionally add:
- App nickname — A friendly name for your app
- Debug signing certificate SHA-1 — Required for some Firebase features
- Click Register app
2.2 Download Configuration File
- Download the google-services.json file
- Place it in your Android project’s
app/directory
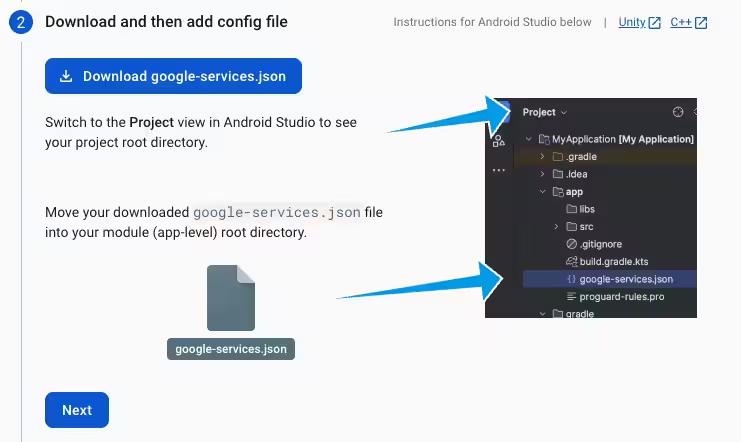
⚠️ Warning: The google-services.json file contains sensitive configuration. Do not share it publicly or commit it to public repositories.
2.3 Add Firebase SDK
Follow the on-screen instructions to add the Firebase SDK to your project, or see the Android SDK Setup guide for detailed integration steps.
Step 3: Generate Service Account Key
The Service Account Key allows Ocamba to send push notifications through Firebase on your behalf.
3.1 Access Service Accounts
- In your Firebase project, click the gear icon (⚙️) next to “Project Overview”
- Select Project settings
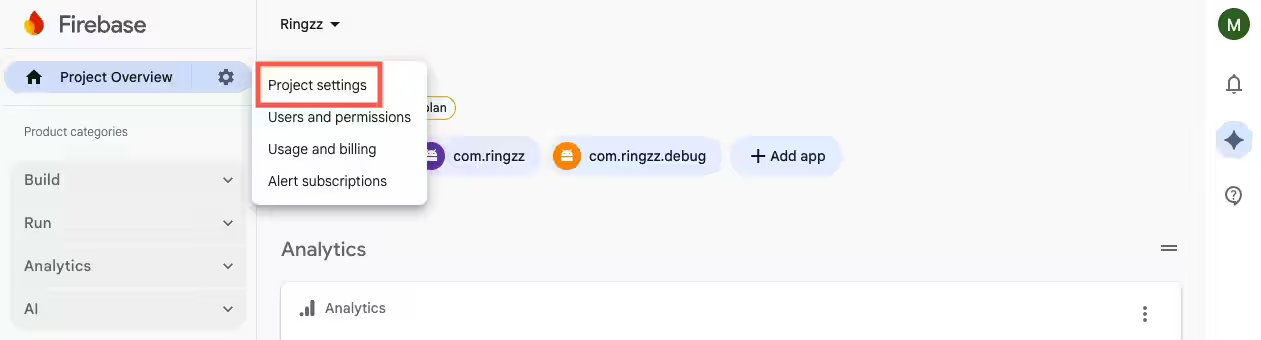
- Go to the Service accounts tab
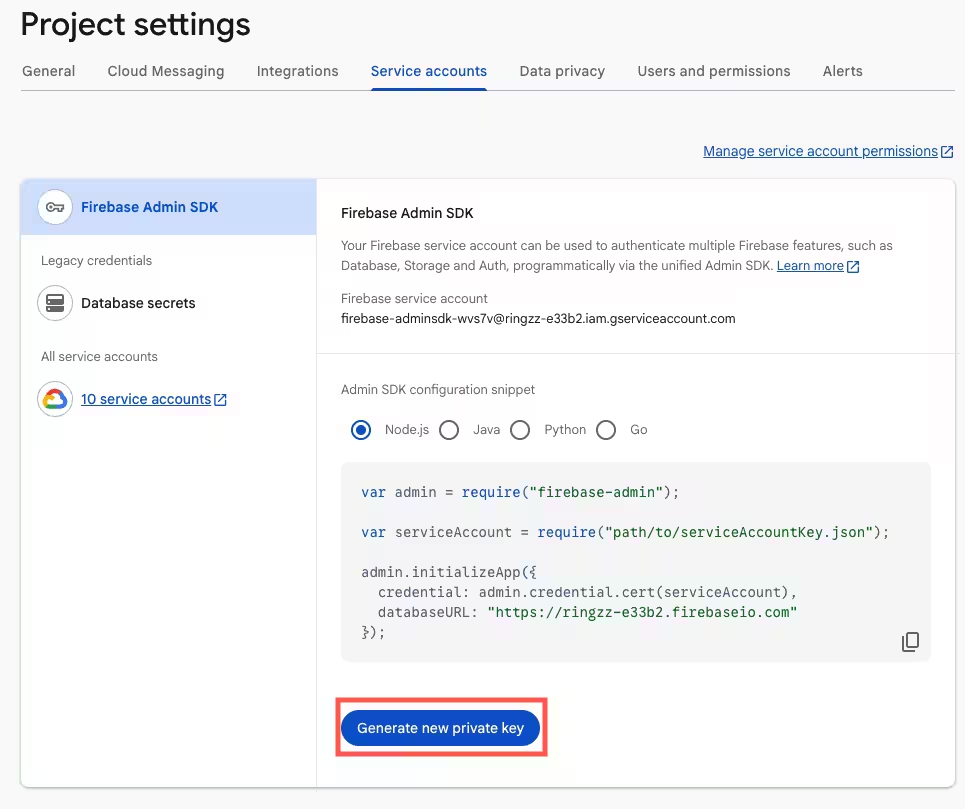
3.2 Generate Private Key
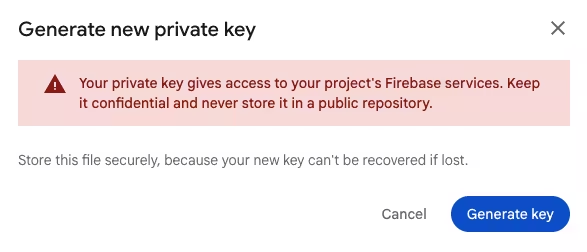
- Click Generate new private key
- Confirm by clicking Generate key
- A JSON file will be downloaded automatically
Step 4: Enable FCM API
Ensure the Firebase Cloud Messaging API is enabled for your project.
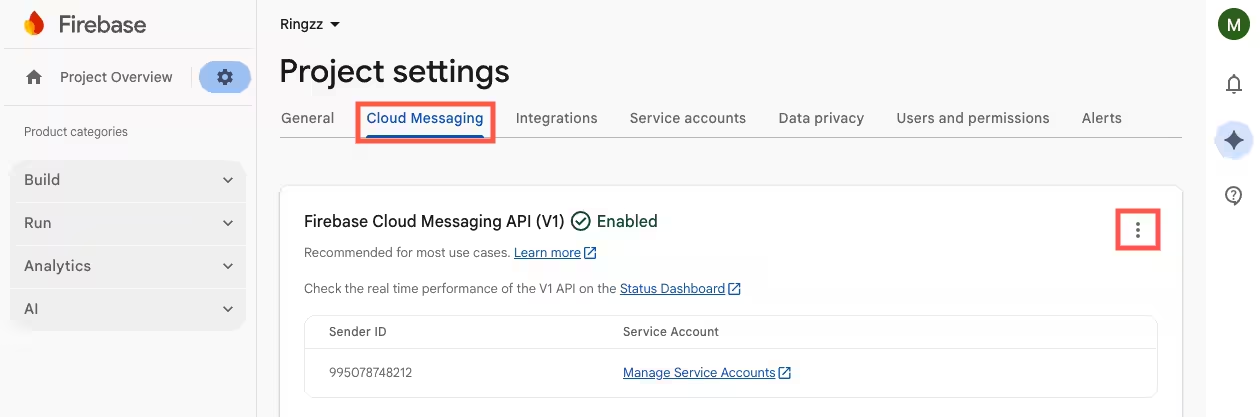
4.1 Enable in Firebase Console
- In your Firebase project, go to Project settings > Cloud Messaging
- Ensure Cloud Messaging API is enabled
4.2 Enable in Google Cloud Console
- Go to the Google Cloud Console - FCM API
- Select your Firebase project from the dropdown
- Click Enable (if not already enabled)

Step 5: Upload Credentials to Ocamba
5.1 Access Configuration Settings
- Log into your Ocamba Portal
- Navigate to Hood > Configurations
- Select your configuration (or create a new one)
- Go to Configuration tab
5.2 Upload Service Account Key
- Click Upload or drag and drop your Service Account JSON file
- Click Save
You’ve successfully configured Firebase credentials for Android push notifications in Ocamba!
Troubleshooting
“Invalid Service Account Key” Error
Cause: The uploaded JSON file is not a valid Firebase Service Account key.
Fix:
- Ensure you downloaded the key from Project settings > Service accounts (not from Google Cloud Console IAM)
- Verify the JSON file contains
"type": "service_account" - Try generating a new key
Push Notifications Not Arriving
Cause: FCM API may not be enabled or credentials are incorrect.
Fix:
- Verify FCM API is enabled in Google Cloud Console
- Check that the Service Account key matches your Firebase project
- Ensure
google-services.jsonis in the correct location in your Android project - Verify your app’s package name matches the one registered in Firebase
“google-services.json Not Found” Build Error
Cause: The configuration file is missing or in the wrong location.
Fix:
- Place
google-services.jsonin theapp/directory (not the project root) - Sync your project with Gradle files
- Verify the file name is exactly
google-services.json
SHA-1 Certificate Issues
Cause: Some Firebase features require SHA-1 fingerprint verification.
Fix:
- Run
./gradlew signingReportin your project directory to get your SHA-1 - Add it to your Firebase app settings under Project settings > Your apps > SHA certificate fingerprints
FAQ
Do I Need a Paid Firebase Plan?
No. The Firebase Spark (free) plan includes Firebase Cloud Messaging with no message limits. FCM is free for all users.
Can I Use the Same Firebase Project for Multiple Apps?
Yes. You can add multiple Android apps (and iOS apps) to a single Firebase project. Each app will have its own google-services.json file.
What Permissions Does the Service Account Have?
The Service Account key generated from Firebase Console has the Firebase Cloud Messaging API Admin role, which allows sending push notifications. It does not have access to other Firebase services unless explicitly granted.
How Do I Rotate/Replace My Service Account Key?
- Generate a new key in Firebase Console (Project settings > Service accounts)
- Upload the new key to Ocamba
- Delete the old key from Firebase Console
- The old key will be immediately invalidated
Next Steps
After configuring your Firebase credentials, continue with the Android SDK Setup to integrate the Hood SDK into your app.