iOS p12 Cert-Based Connection
iOS p12 Certitifcate-Based Connection to APNS
Step-by-step guide for creating an iOS Push Authentication Certificate (.p12) for Apple Push Notification service (APNs).
To send push notifications to iOS apps, an authenticated connection to Apple Push Notification Services (APNs) is required. You can authenticate using a token-based (.p8 key) or a certificate-based (.p12 file) method — but only one is necessary.
This guide walks you through setting up a certificate-based (.p12 file).
Requirements
Before starting, ensure you have:
- An iOS mobile app
- A Paid Apple Developer Account with Admin access
- An Ocamba Account
- A Mac with Xcode 14+
- The Bundle ID for your app target as set in Xcode
- An Xcode project with Push Notification capability enabled
Step 1: Generate a Certificate Signing Request (CSR)
You first need to create a Certificate Signing Request .certSigningRequest file (CSR) on macOS.
1.1 Open Keychain Access
Navigate to Applications > Utilities > Keychain Access
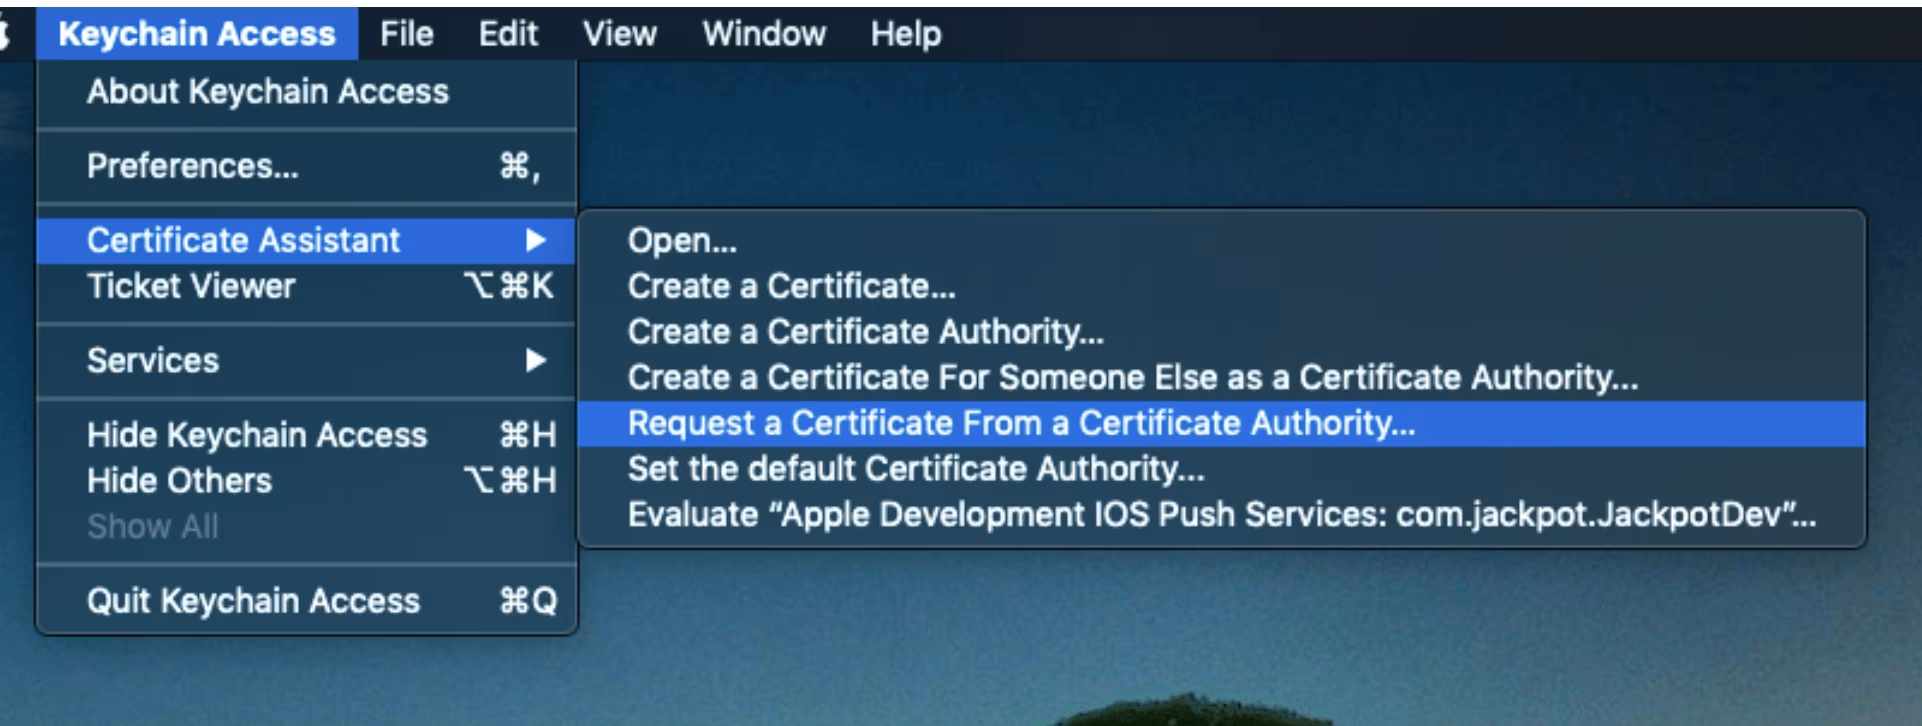
1.2 Launch the Certificate Assistant
From the menu bar, click: Keychain Access > Certificate Assistant > Request a Certificate From a Certificate Authority…
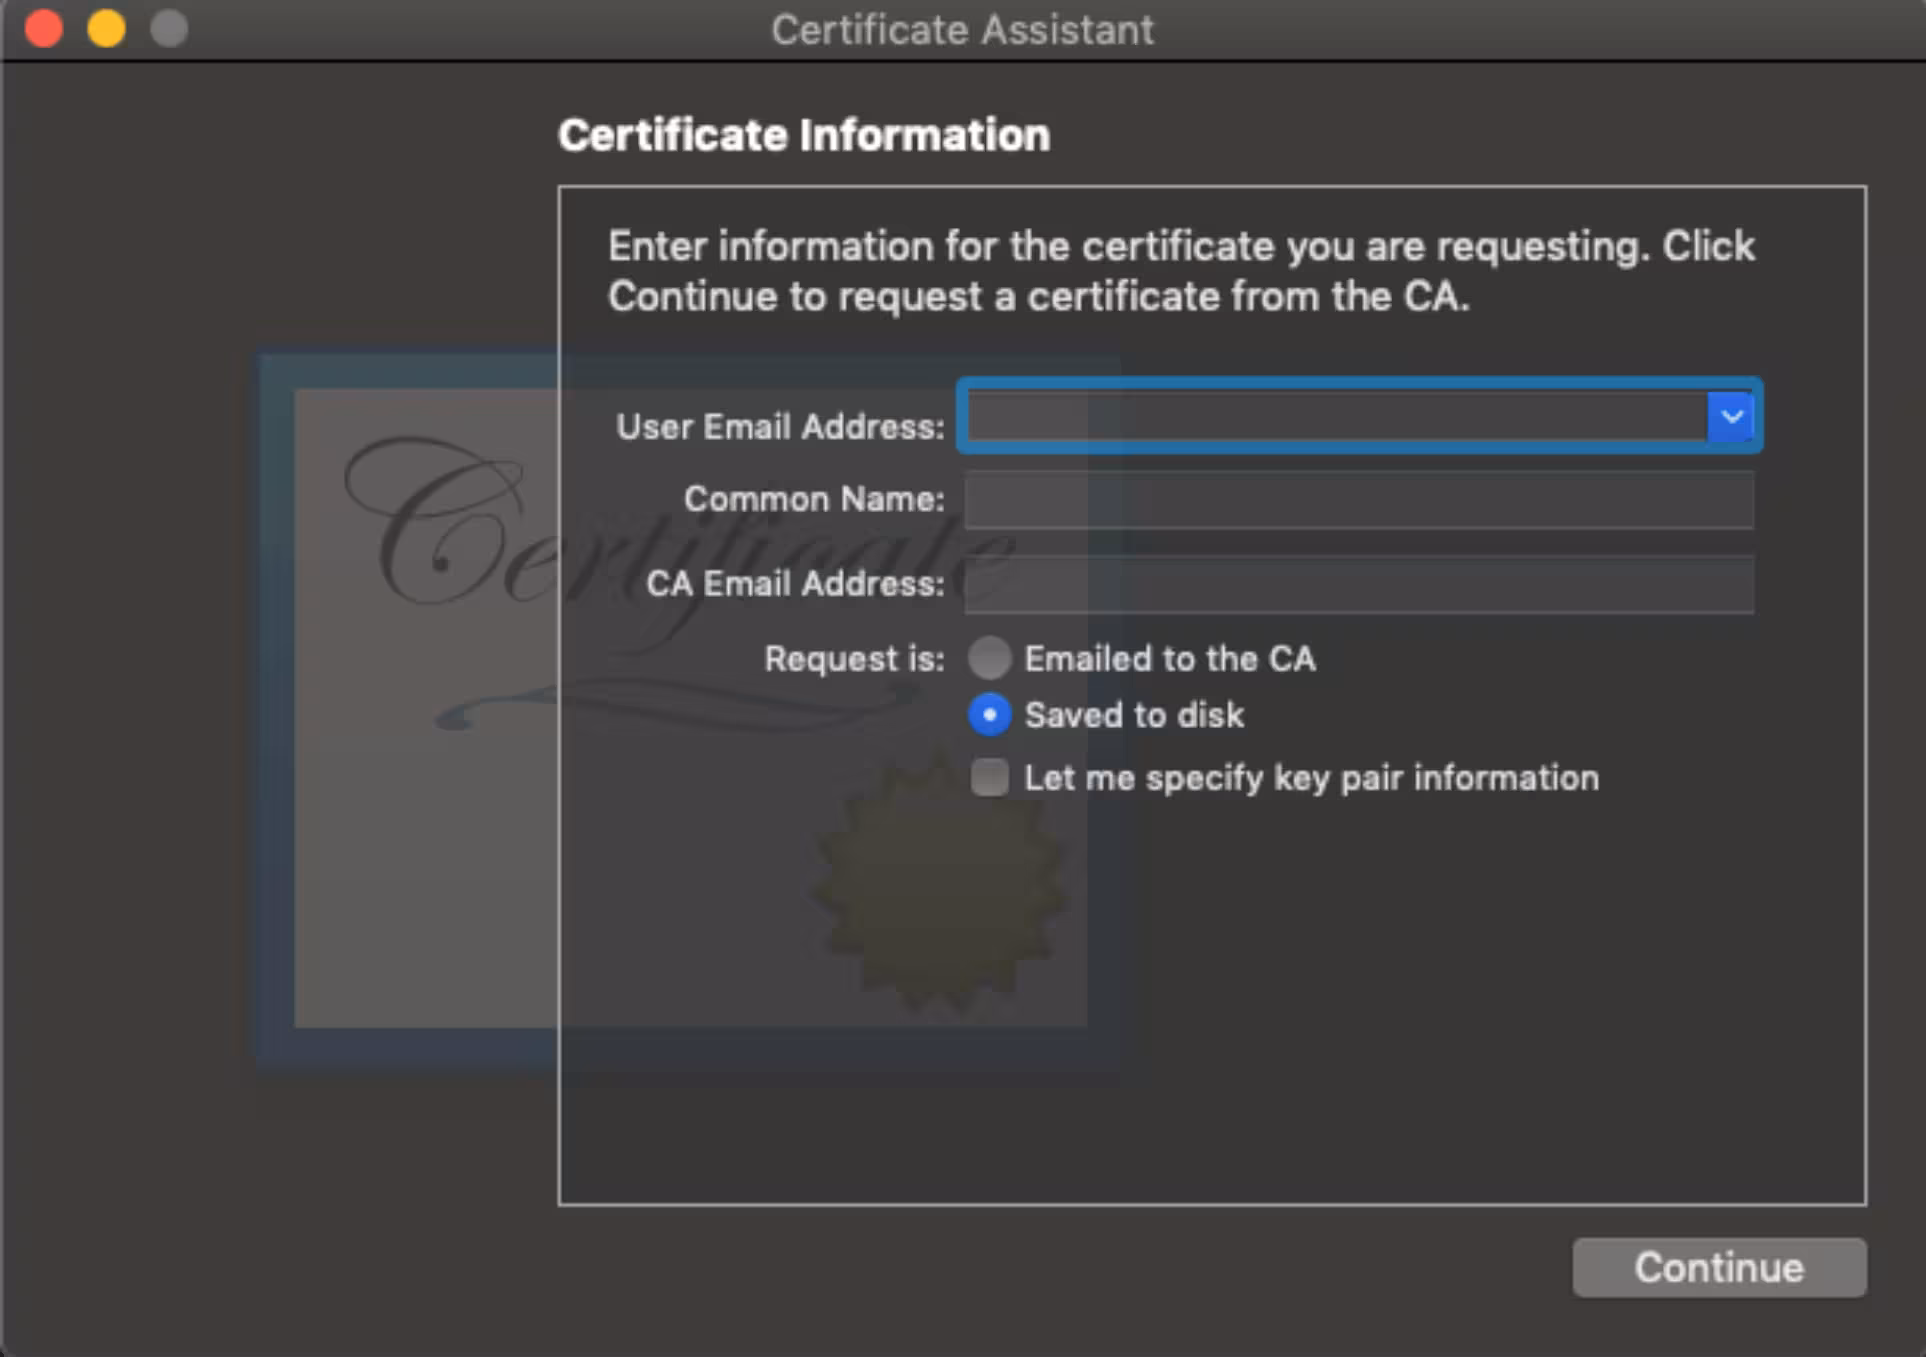
1.3 Enter Your Information
Fill in the required fields:
- User Email Address: Your email address
- Common Name: Your name or the name for the certificate
- CA Email Address: Leave this blank
- Request is: Select Saved to disk
1.4 Save the CSR
- Click Continue
- Choose a location to save the
.certSigningRequestfile - Click Save to finish
You now have your .certSigningRequest file ready to use.
Step 2: Enable Push Capabilities for the App
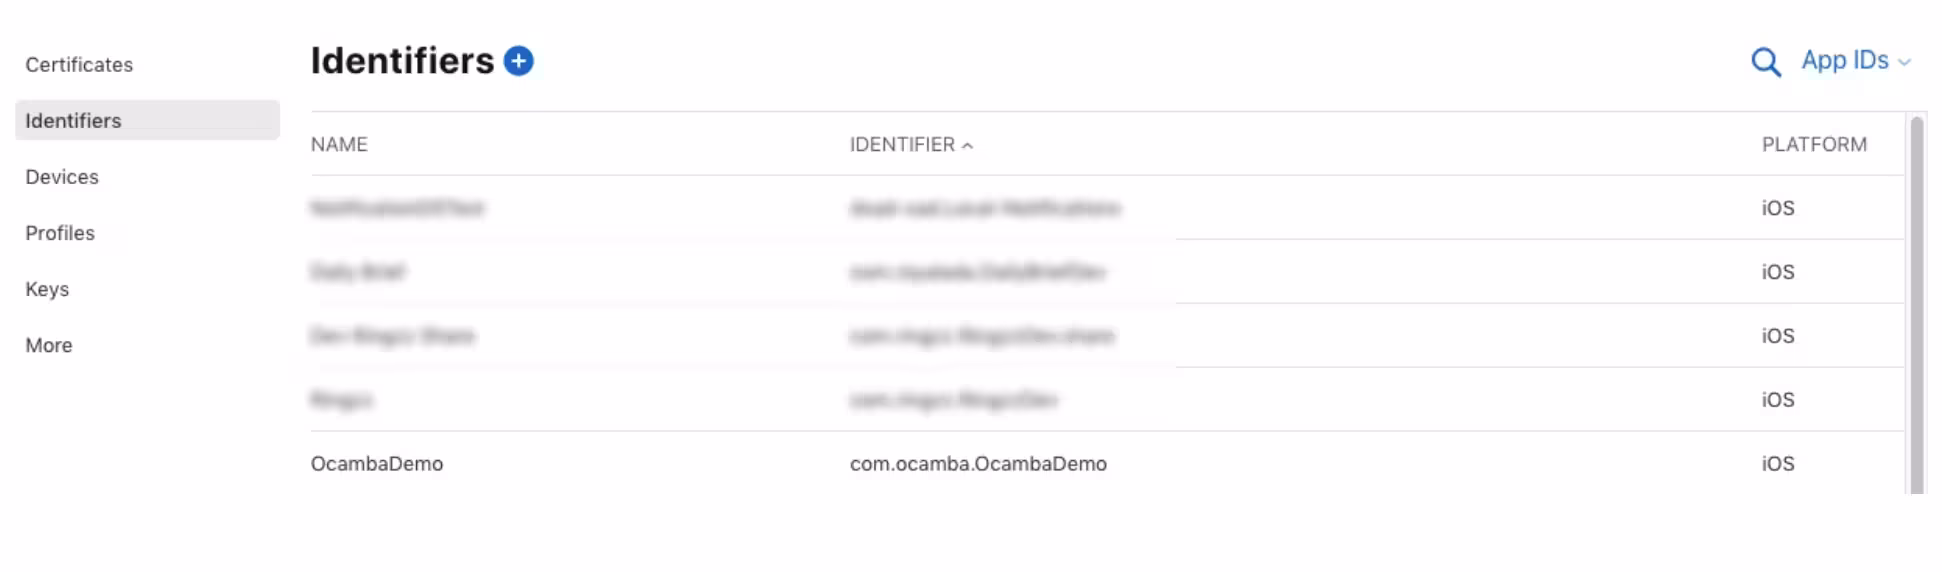
- Go to the Identifiers section of the Apple Developer portal
- Locate and select your app’s App ID from the list
- Enable the Push Notifications capability by checking the box
Step 3: Create a Push Certificate
Follow these steps to generate the Apple Push Notification service (APNs) SSL certificate:
- Visit the Apple Certificates page
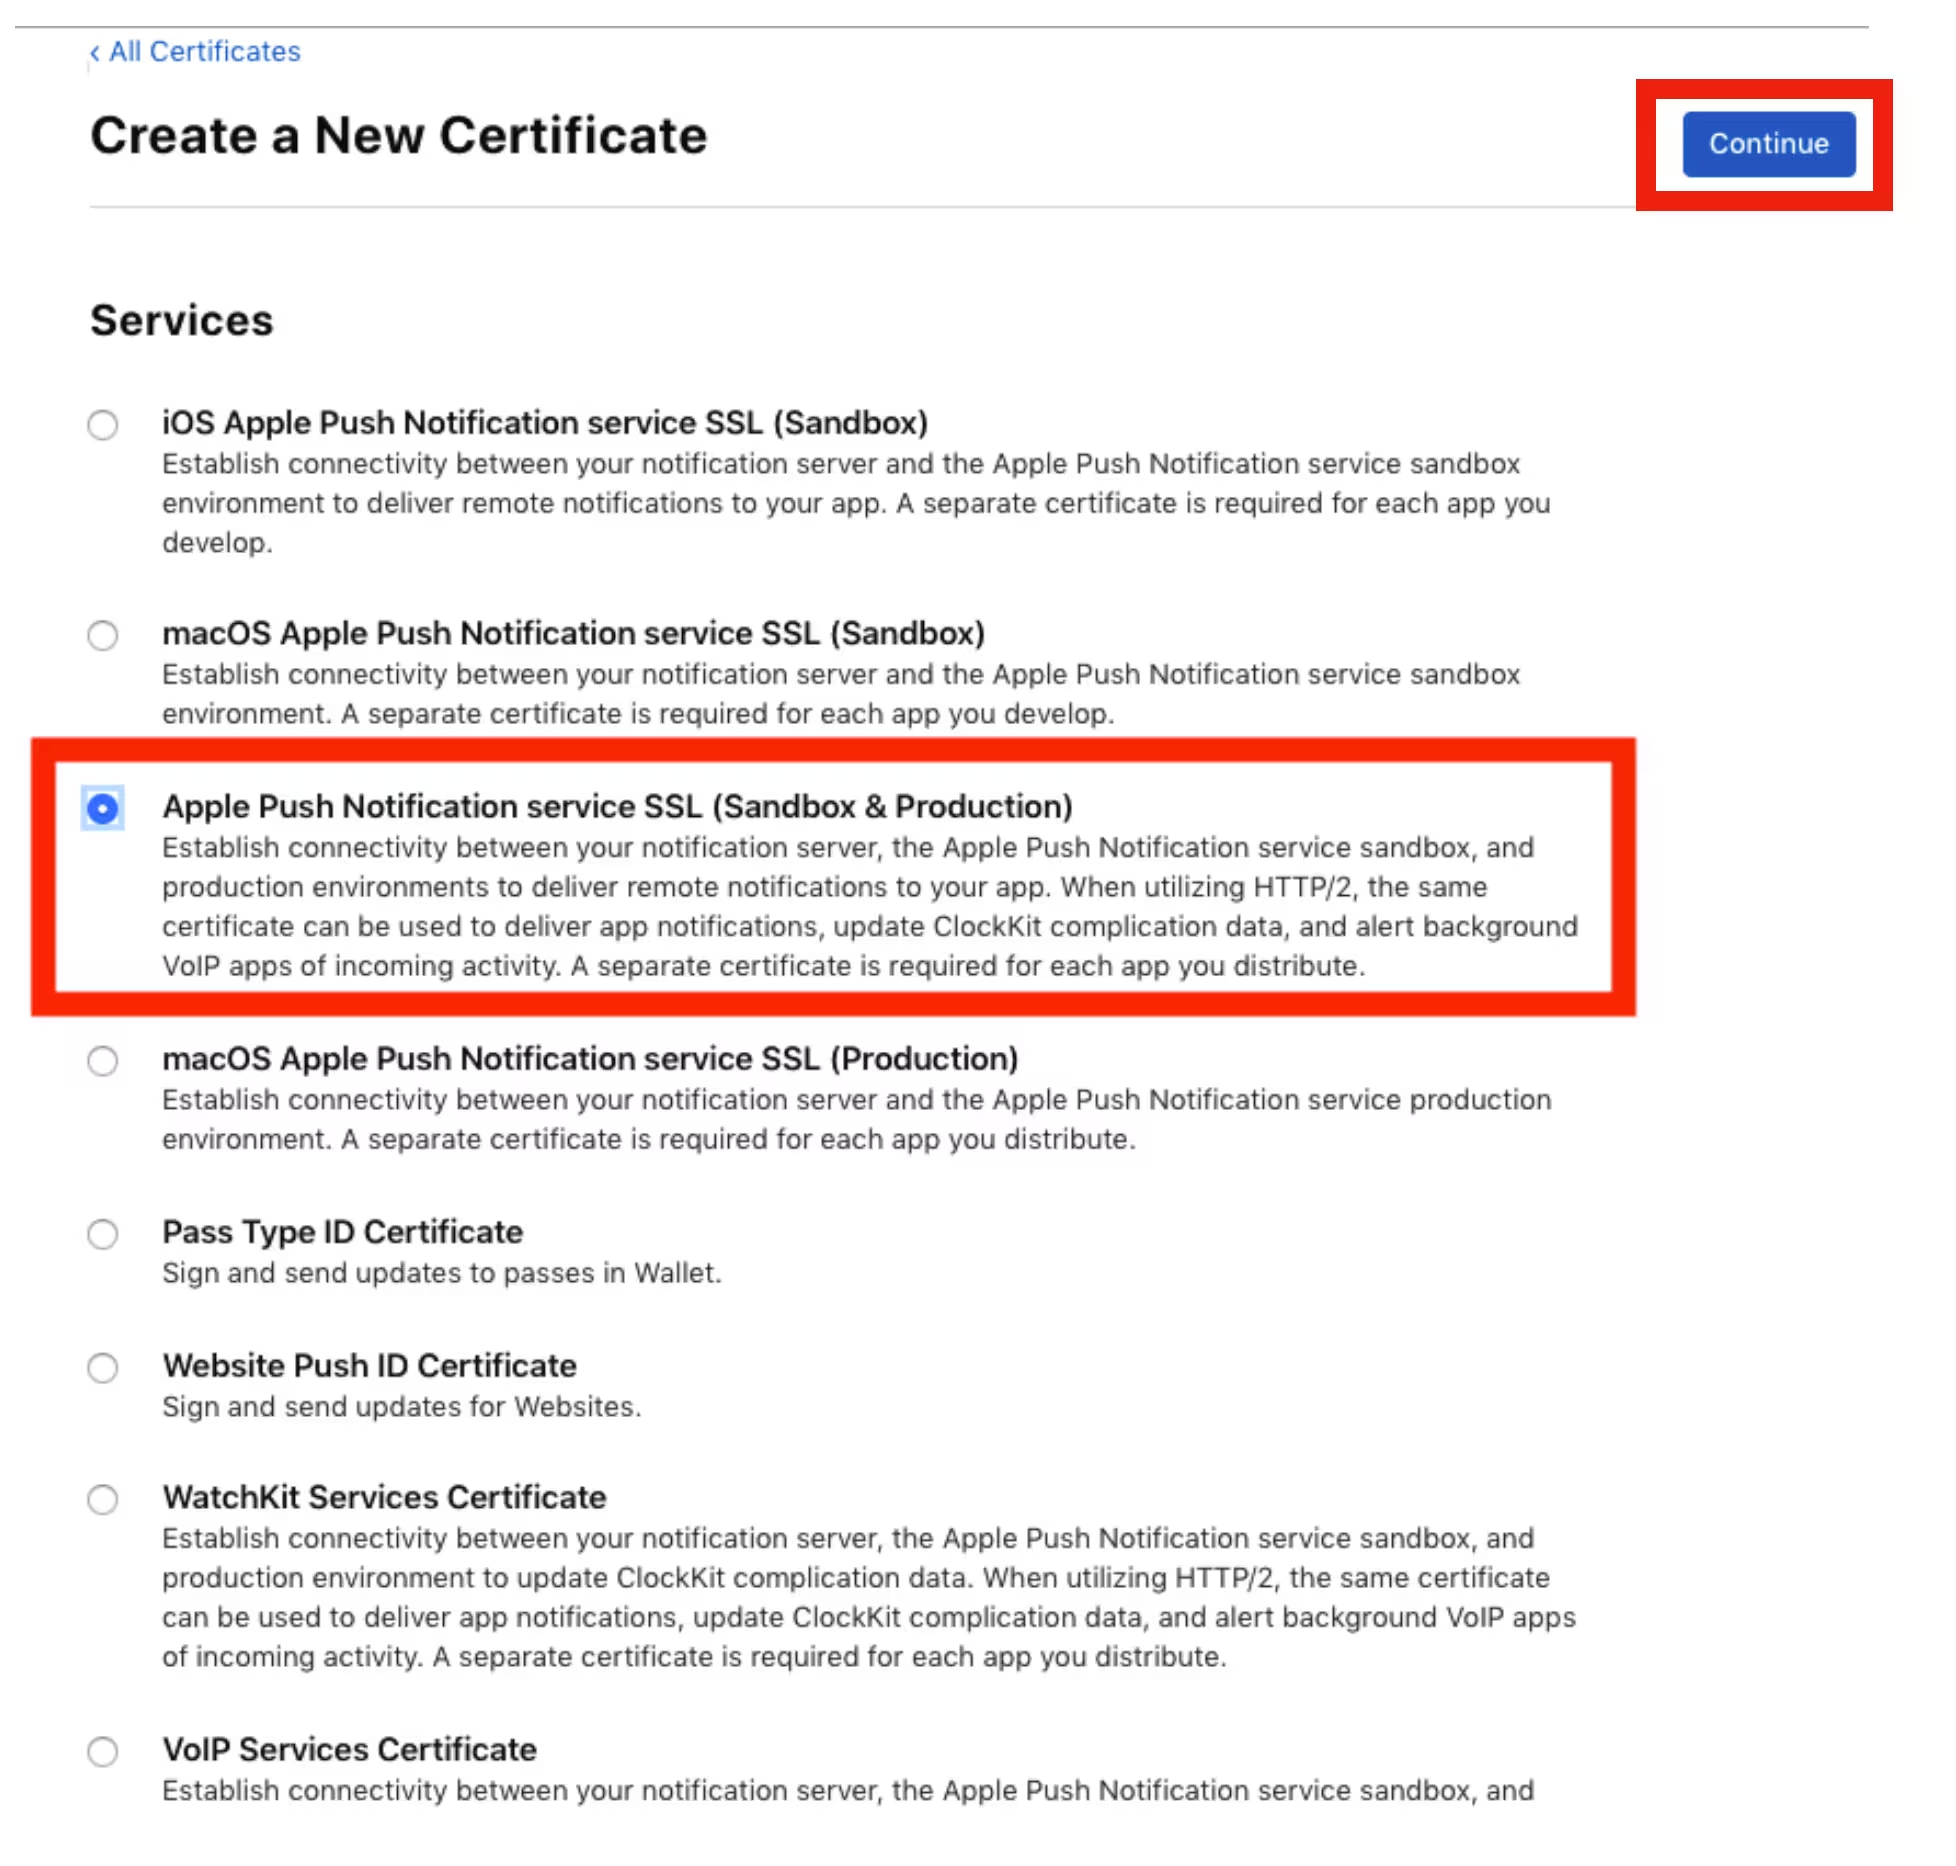
- Click the plus (+) button to create a new certificate
- Under Services, select: Apple Push Notification service SSL (Sandbox & Production)
- Click Continue
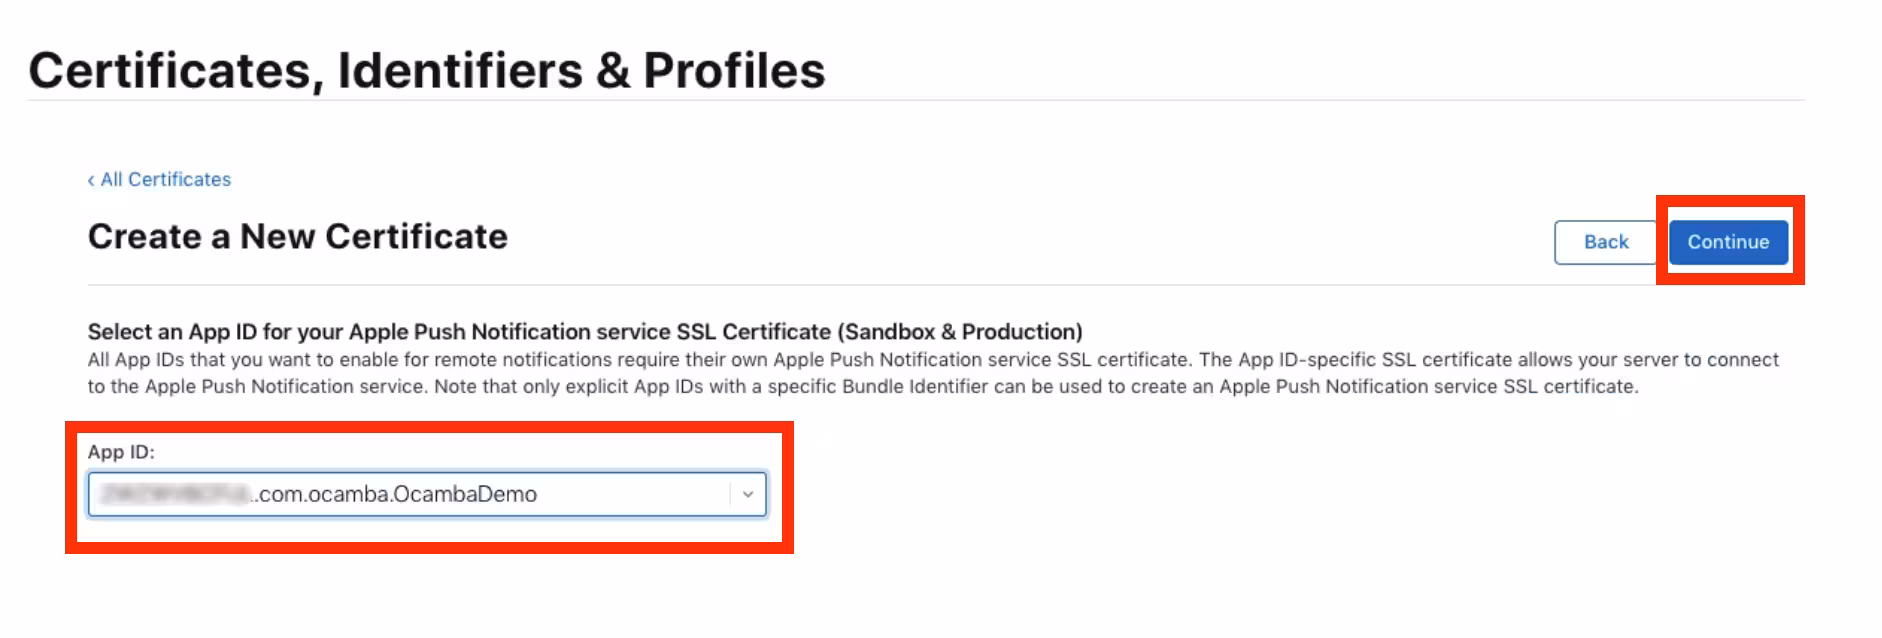
- Select your App ID from the dropdown menu and click Continue
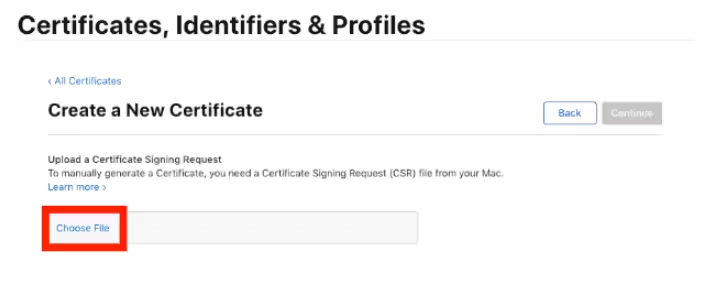
- Click Choose File and select your previously generated
.certSigningRequestfile - Click Continue
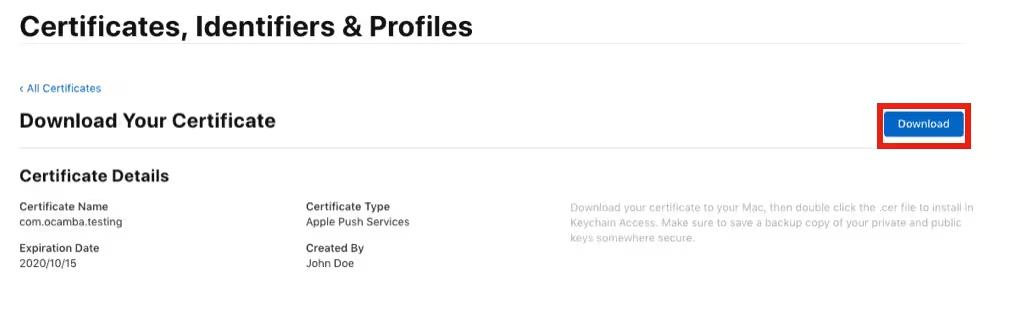
- Click Download to save the resulting
.cerfile to your computer
Step 4: Create a Private Key and Export the .p12 Certificate
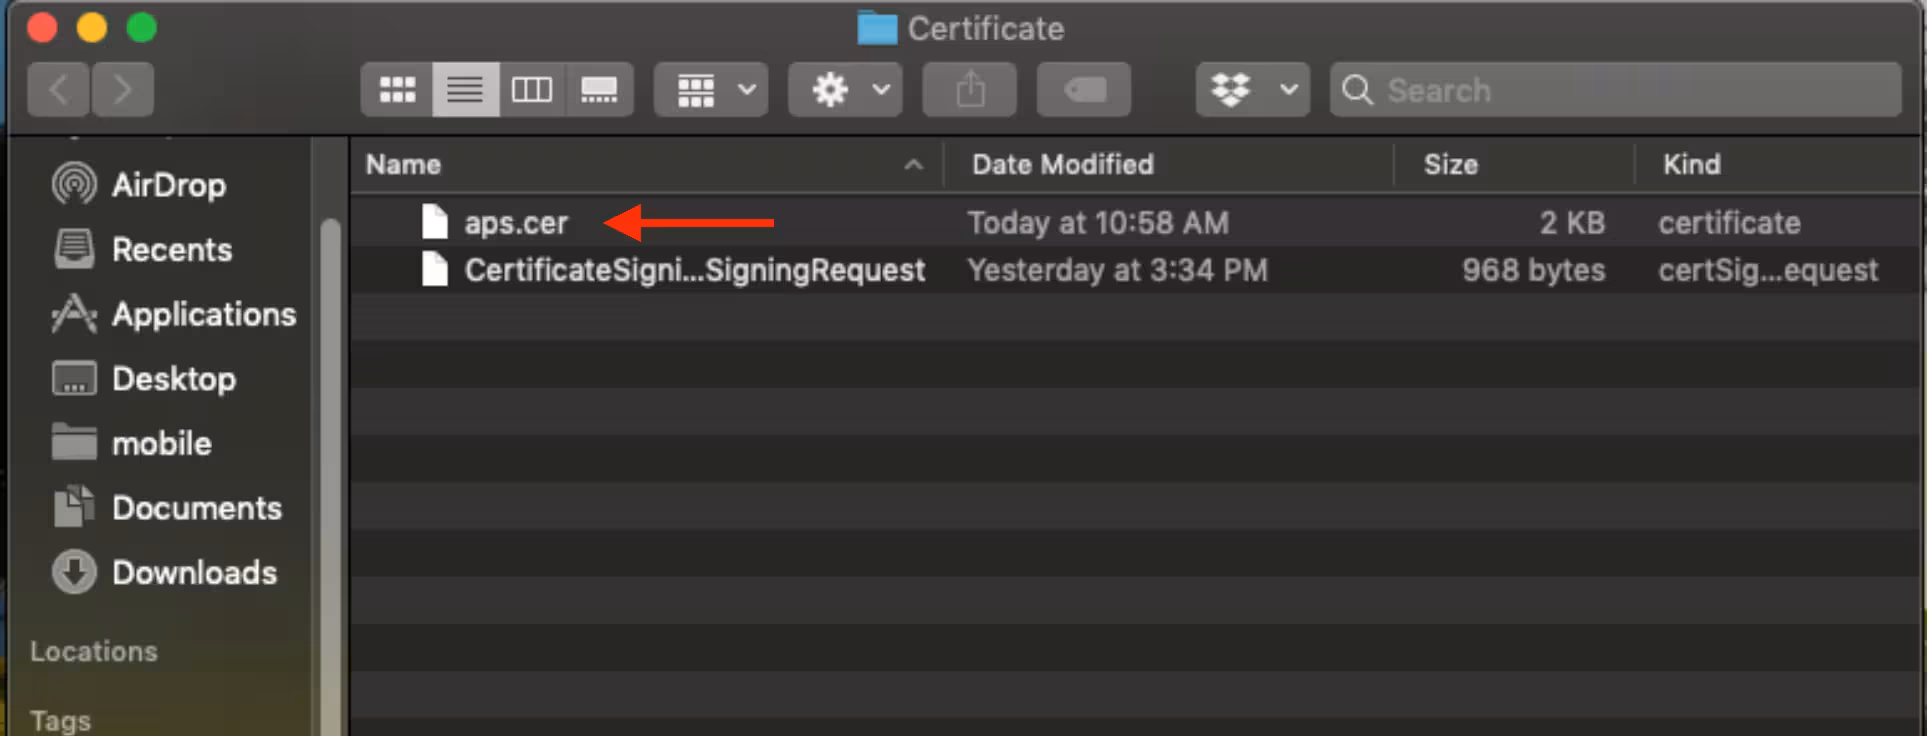
4.1 Import the Certificate
Double-click the downloaded .cer file to import it into Keychain Access.
4.2 Locate the Certificate
In Keychain Access, navigate to:
- Keychains > Login
- Category > My Certificates
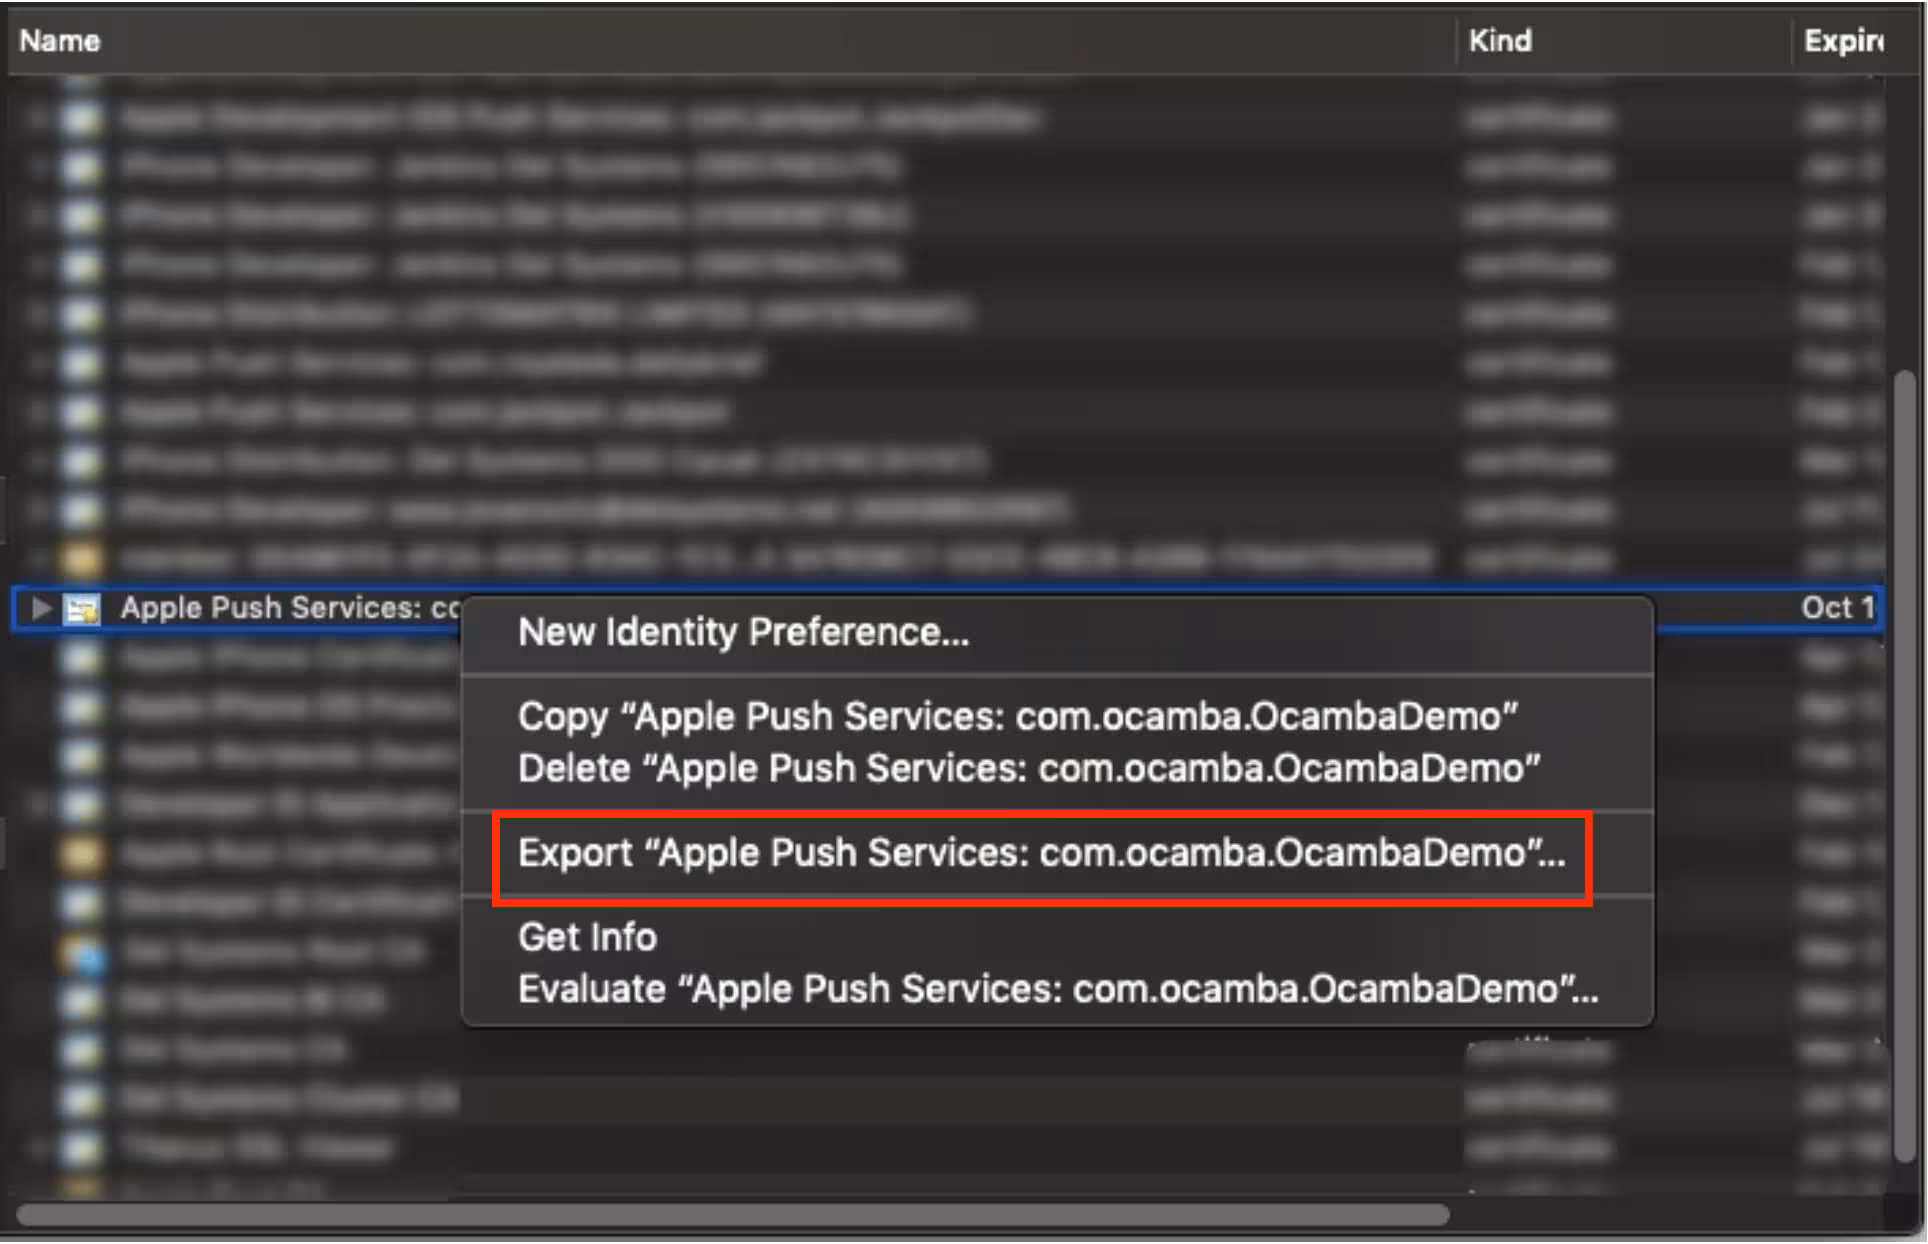
Locate the certificate named Apple Push Services: [your.bundle.id]
4.3 Export as .p12
- Right-click the certificate and select Export
- Choose a location to save the file
- Select the file format as
.p12 - When prompted, set a password for the
.p12file
Step 5: Upload the .p12 to Ocamba
- Log into your Ocamba Portal
- Navigate to Hood > Configurations > Select your configuration > Configuration Tab
- Choose .p12 Certificate as the authentication method
- Upload the
.p12file - Enter the password you set during export (if any)
- Select the Environment:
- Production — Use for apps distributed via the App Store or TestFlight
- Sandbox — Use for development builds and testing on physical devices via Xcode
- Click Save
You’ve successfully set up APNs authentication using a .p12 certificate in Ocamba. Your iOS app is now ready to send and receive push notifications!
Troubleshooting
Invalid Certificate Format Error
Cause: The uploaded file is not in .p12 format.
Fix: Ensure you export the certificate from Keychain Access as .p12 (not .cer or .pem).
“Incorrect Password” When Uploading to Ocamba
Cause: Password was entered incorrectly or not set.
Fix:
- Try exporting again and set a new password
- Ensure no extra spaces are added when pasting
- If you didn’t set a password during export, leave the password field empty
Missing Private Key in Exported File
Cause: Certificate was imported but not paired with a private key.
Fix:
- Make sure you generate the CSR from Keychain Access on the same Mac
- After downloading the
.cerfile, double-click to install and check if the key appears under My Certificates - The certificate should show a disclosure triangle with a private key nested underneath
Push Notifications Not Working After Upload
Cause: Incorrect App ID, or Provisioning Profile missing capabilities.
Fix:
- Confirm the
.p12matches the App ID used in the app - In Apple Developer Portal, ensure the App ID has Push Notifications enabled
- Make sure the Provisioning Profile includes Push
Expired Certificate
Cause: .p12 certificate is no longer valid (certificates expire after 1 year).
Fix:
- Go to Apple Developer > Certificates and check expiry
- Revoke the old certificate and create a new one following this guide
FAQ
Do I Need a Provisioning Profile?
Yes, Apple requires different types of profiles for development, testing (Ad Hoc), and distribution to the App Store. In Xcode, you can select Automatically manage signing to create one automatically.
Otherwise, see Apple’s docs on provisioning profiles for details.
How Do I Know When My Certificate Expires?
You can check the expiration date in:
- Apple Developer Portal > Certificates section
- Keychain Access > My Certificates > Select the certificate > Get Info
Should I Use .p8 or .p12?
- .p8 Token-Based Key (Recommended): Never expires, works for all apps in your Apple Developer account, simpler setup process.
- .p12 Certificate (You are here): Expires after 1 year and requires annual renewal, single app only, more complex setup.
Use .p12 only if you have a specific requirement for certificate-based authentication.
Additional Resources
Next Steps
After configuring your APNs credentials, continue with the iOS SDK Setup to integrate the Hood SDK into your app.