SendGrid email setup instructions
Follow these instructions to configure and send SendGrid email messages using HoodEngage.
Requirements
Before starting, ensure you have:
- A SendGrid account
- An Ocamba Account
- A verified sender email address in SendGrid
Step 1: Setting up SendGrid
1.1 Create a SendGrid account
- Go to SendGrid
- Sign up for an account or log in if you already have one
1.2 Generate an API key
- Navigate to the SendGrid Dashboard
- Go to Settings > API Keys
- Click on Create API Key
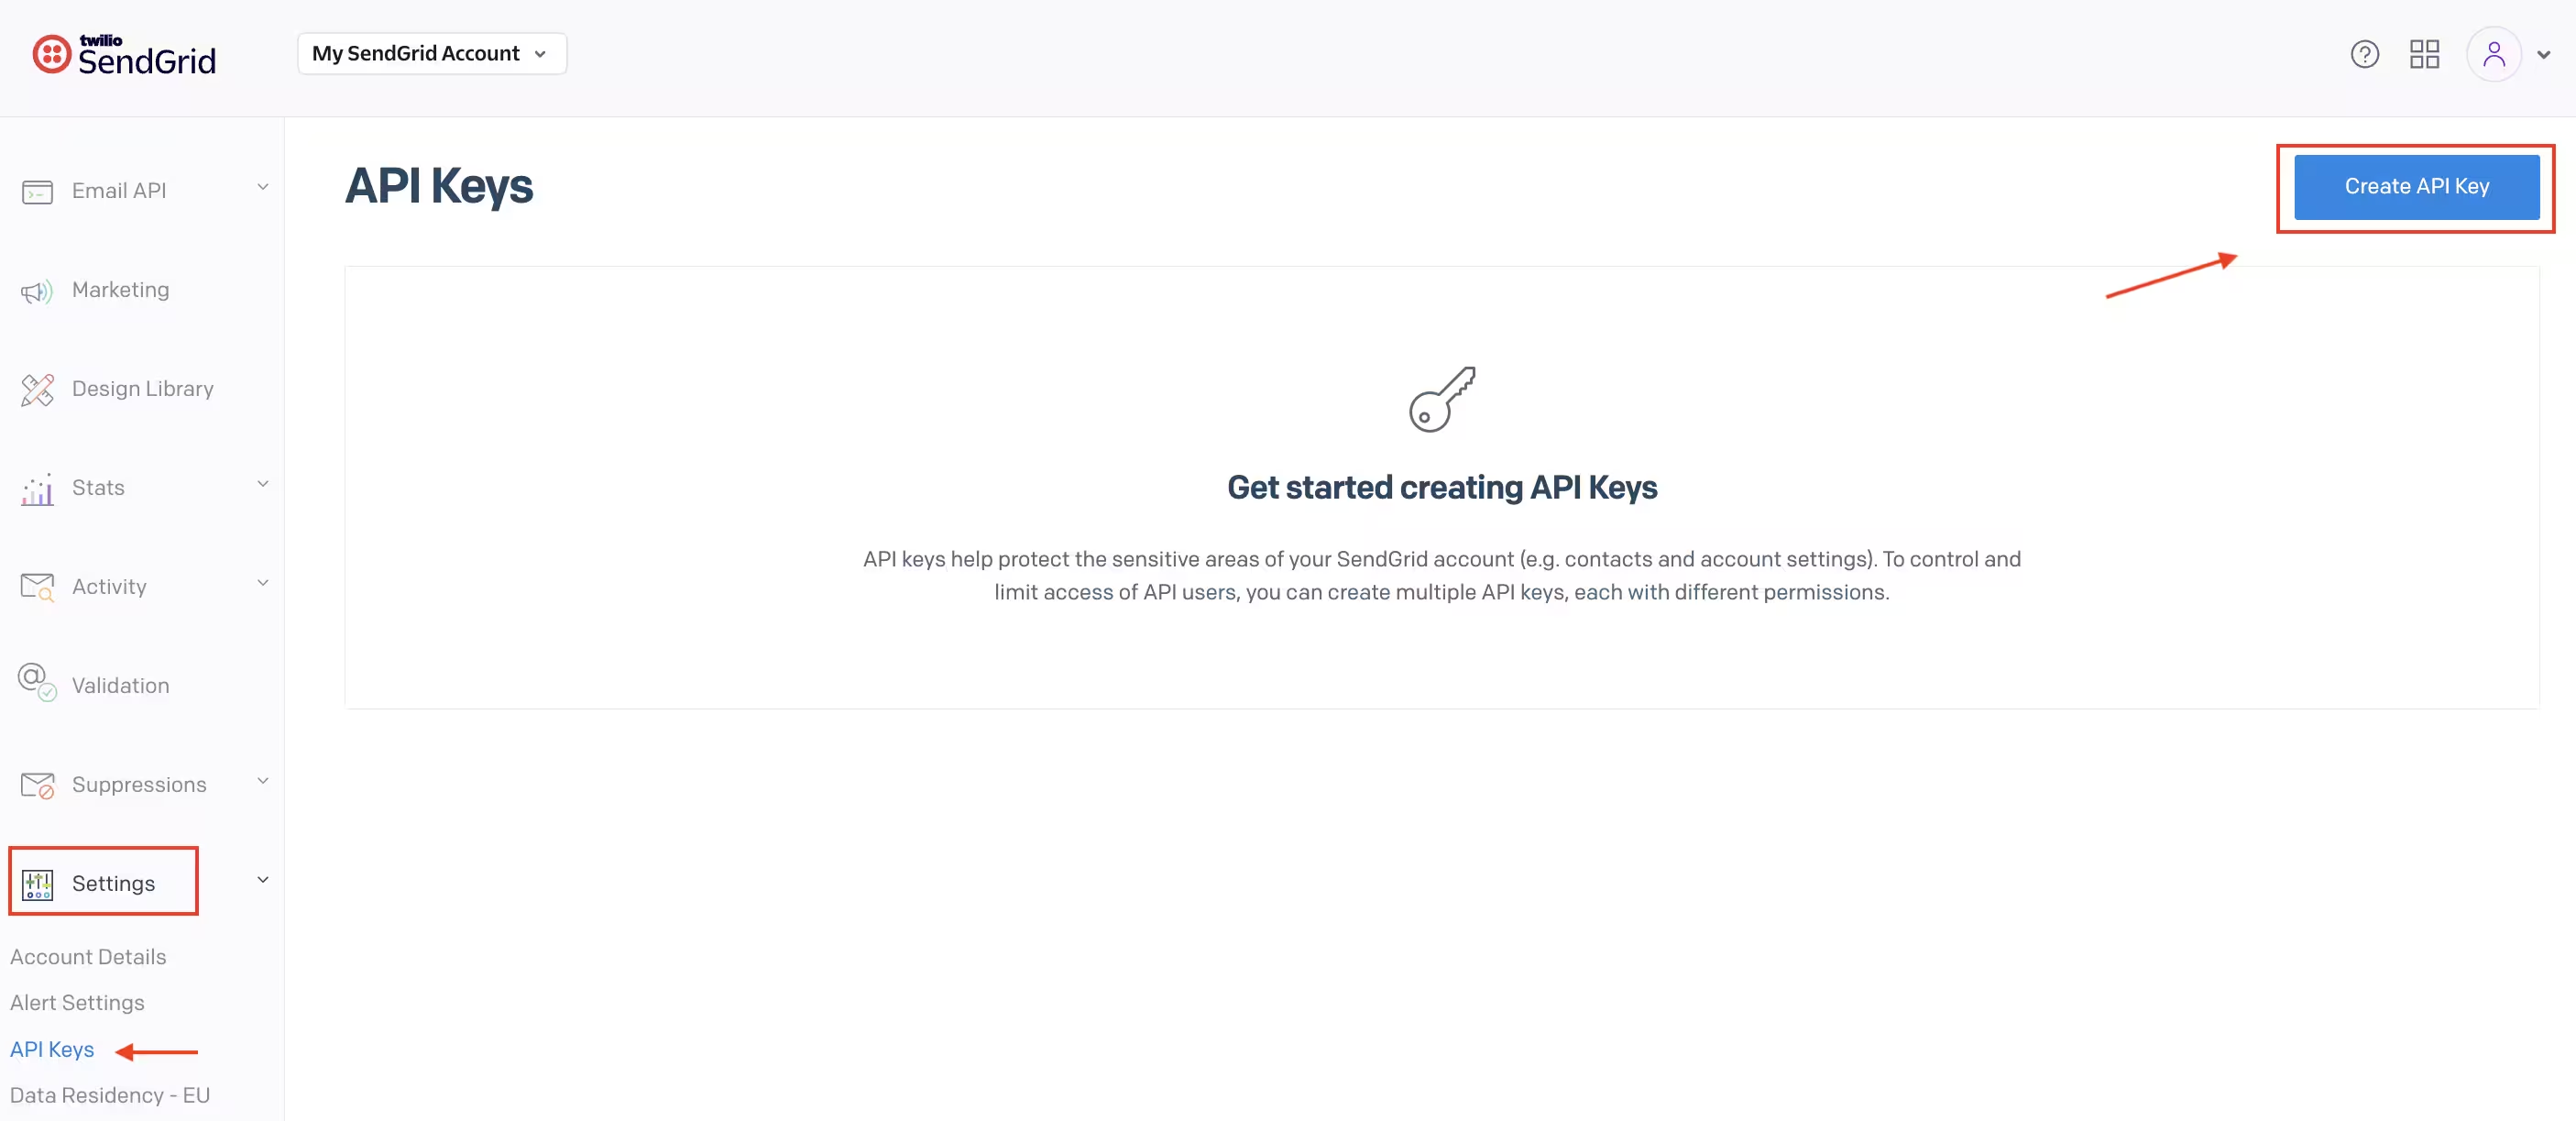
Create new API key button location in SendGrid Settings
- Provide a name for the API key (e.g., “Ocamba Integration”)
- Select Full Access and click Create & View
- Copy the API key and store it securely
Step 2: Configure SendGrid in HoodEngage
2.1 Access email settings
In your HoodEngage dashboard, navigate to HoodEngage Settings > Email in the top right corner.
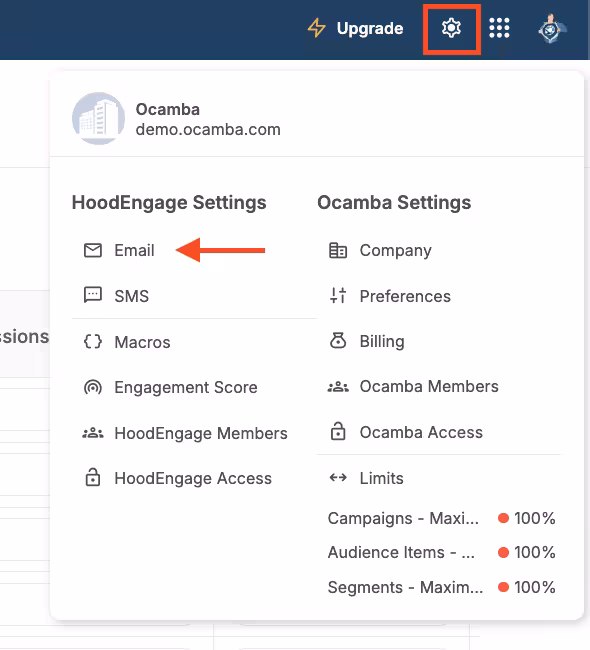
Email setup location in the navigation
Here, you can see the overview of all your email configurations.
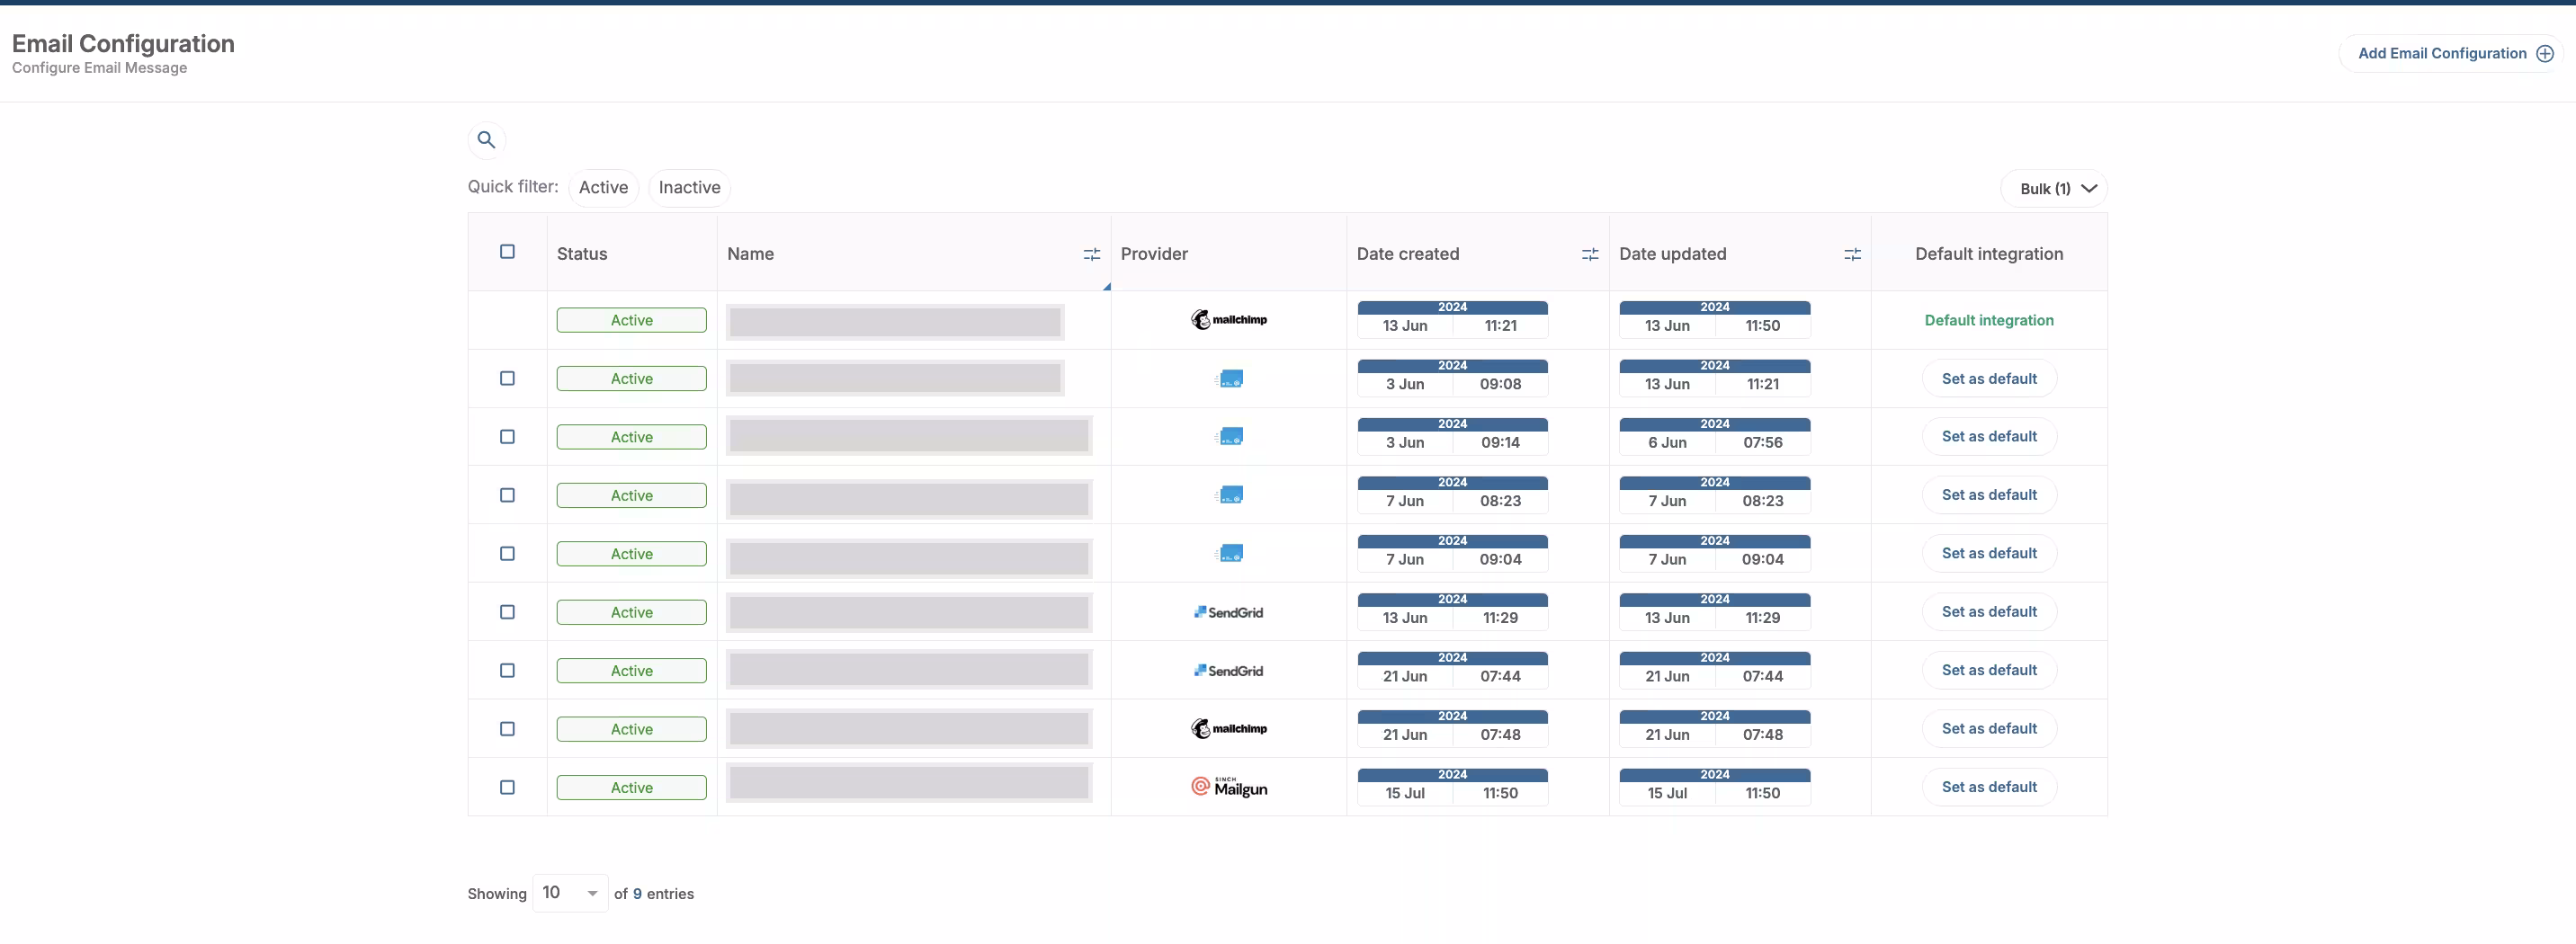
Email setup overview
2.2 Add new email configuration
- Click on the Add email configuration button in the top right corner
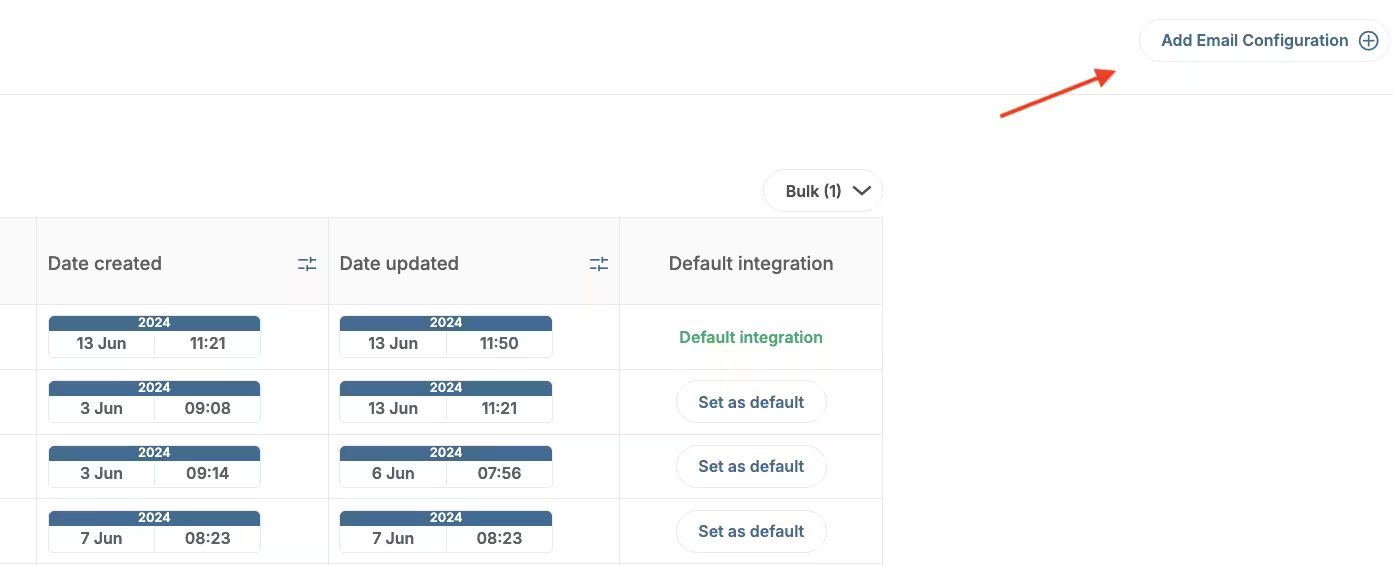
Add new email configuration
- Fill out the integration name
- Switch the toggle button to Active
- Choose SendGrid as provider
- Enter the following details:
- API Key — Paste the API key generated from SendGrid
- Sender Email — Enter the verified sender email address from SendGrid
- Sender Name — Enter the name that will appear as the sender
- Click Validate to confirm the configuration

SendGrid info & the Validate button
Step 3: Send a test email
- After validation, use the test email option below the configuration
- Enter a recipient email address
- Click Send Test Email
- Verify that the test email is received at the specified email address
Step 4: Set as default (optional)
To set your SendGrid configuration as default:
- Go to the email configurations overview
- Click on the Set as default button next to your SendGrid configuration
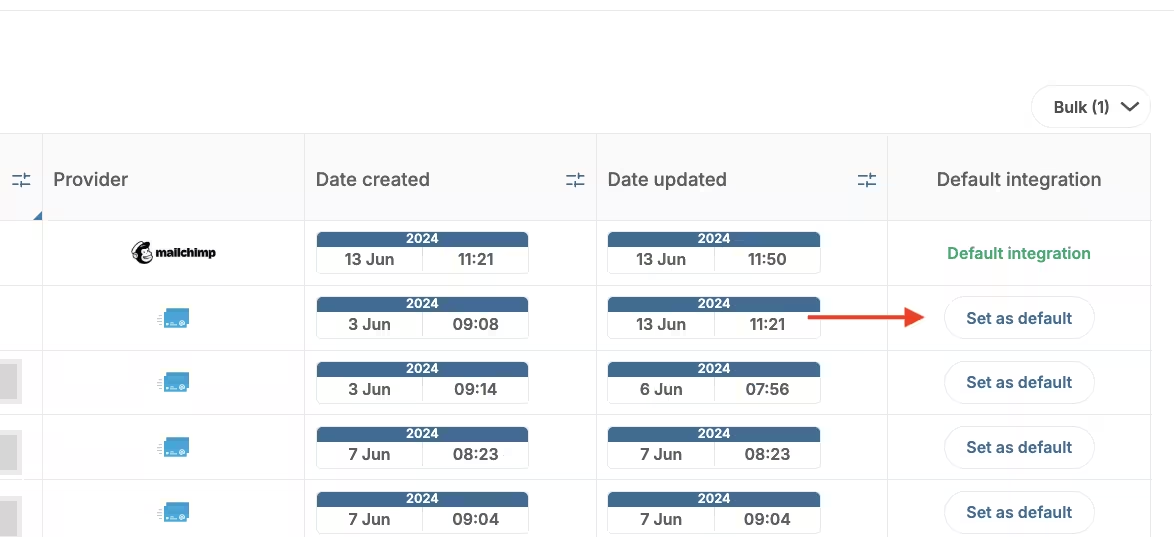
Email configuration - Set as default
Setting a configuration as default means it will appear first as an option when sending emails in Campaigns.
Step 5: Add subscribers
You can add email subscribers using several methods:
- Dashboard Upload — Upload a CSV of emails and user data or manually add emails
- Server API — Programmatically add emails server-side
- SDK Method — Add emails using our client-side SDK (recommended if using our SDKs for push or in-app messaging)
- Email Web Prompt — Use a web prompt to collect email addresses and phone numbers
Troubleshooting
API Key validation fails
Cause: The API key may be incorrect or doesn’t have proper permissions.
Fix:
- Double-check you copied the entire API key without extra spaces
- Ensure the API key has Full Access permissions
- Generate a new API key if needed
Sender email not verified
Cause: SendGrid requires sender verification before sending emails.
Fix:
- Go to SendGrid Settings > Sender Authentication
- Verify your sender email address or domain
- Wait for verification confirmation before testing
Emails going to spam
Cause: Domain not properly authenticated.
Fix:
- Set up domain authentication in SendGrid (SPF, DKIM, DMARC)
- Use a verified sender email that matches your domain
- Avoid spam trigger words in your email content