Permission modals
Permission modals are user-friendly permission request modals for notifications, location, and other sensitive features. They help you request necessary permissions from users in a clear and non-intrusive way, improving user experience and increasing permission acceptance rates.
Key features of Permission modals:
- Browser permission requests — Request push notification permissions, location access, camera, microphone, and other browser-level permissions
- User-friendly messaging — Explain why permissions are needed and how they benefit the user experience
- Optimal timing — Display permission requests at the right moment in the user journey to maximize acceptance rates
- Customizable design — Match your brand identity with fully customizable styling and messaging
- Multiple permission types — Support various permission types including notifications, geolocation, camera, microphone, and more
- Smart targeting — Use render conditions to show permission requests to the right users at the right time
- Permission status tracking — Monitor permission acceptance rates and user responses
Common use cases for Permission modals:
- Push notification permissions — Request permission to send push notifications to users, increasing engagement and retention
- Location access — Request geolocation permissions for location-based features, maps, or personalized content
- Camera and microphone — Request access for video calls, photo uploads, or voice features
- Storage access — Request permission to store data locally for offline functionality
- Device sensors — Request access to device sensors for enhanced user experiences
- Progressive permission requests — Gradually request permissions as users engage with specific features
Step-by-step guide: Creating your Permission modal
Follow this complete guide to create, customize, and track your Permission modal from start to finish.
Step 1: Create your Permission modal
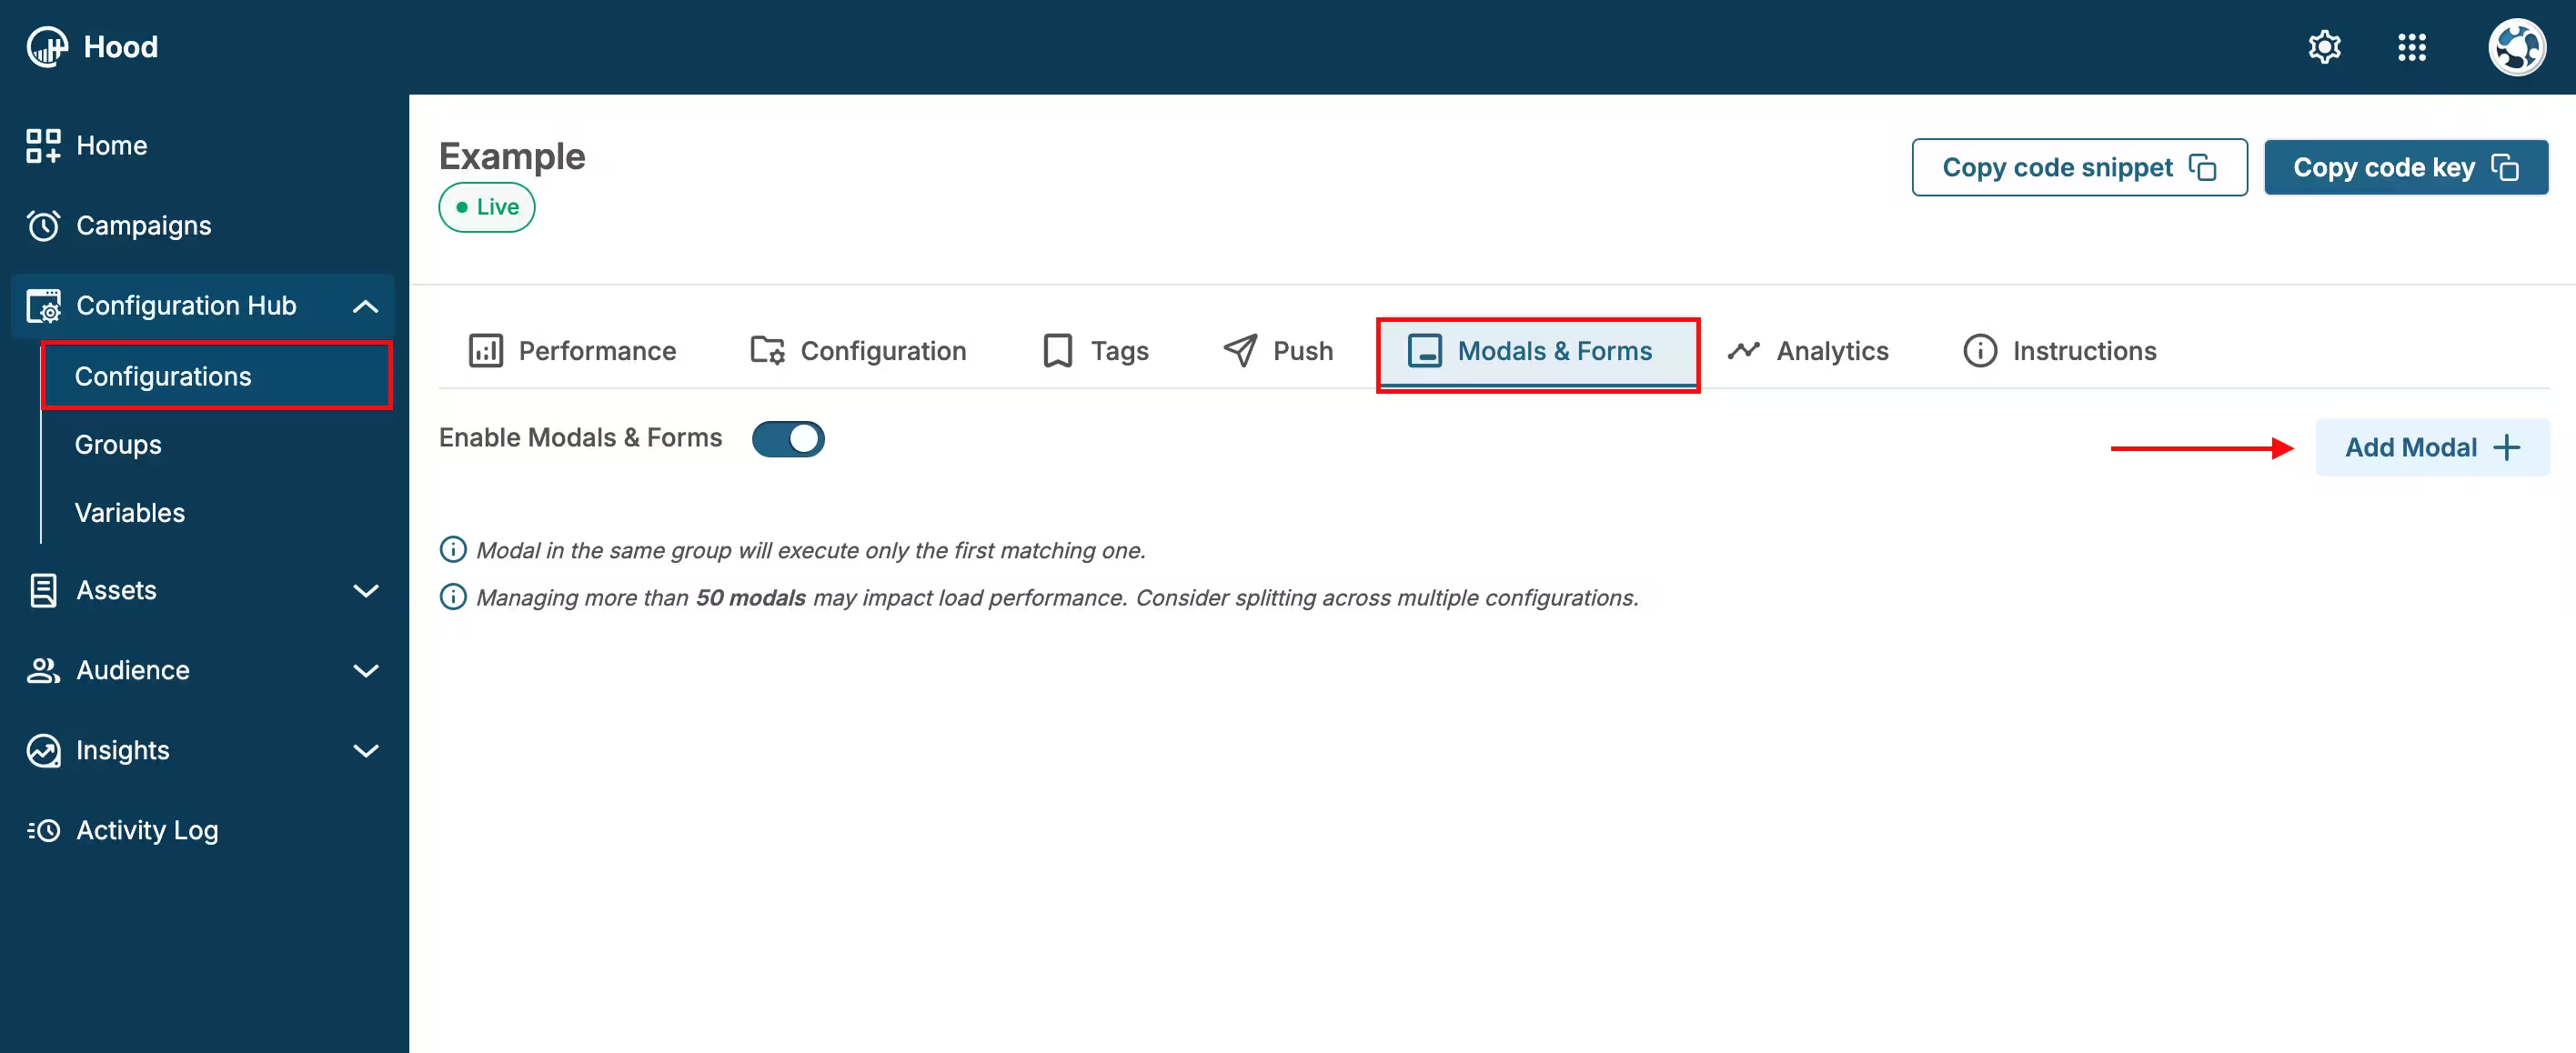
- Navigate to your Configuration in the HoodEngage dashboard
- Go to the Modals & Forms tab
- Click Add Modal
- Select Permission modal as the modal type
- Choose to either:
- Use an existing template — Select from pre-built permission request templates
- Create from scratch — Build a custom permission modal
Add Modal
Step 2: Configure content and design
Select permission type:
- Push notifications — Request permission to send browser notifications
- Location — Request geolocation access
- Camera — Request camera access
- Microphone — Request microphone access
- Storage — Request local storage permissions
- Other — Request other browser permissions
Craft your message:
- Headline — Create a clear, benefit-focused headline
- Body text — Explain why you need the permission and how it benefits the user
- Value proposition — Highlight what users get by granting permission (e.g., “Get instant updates”, “Personalized content”)
Customize the design:
- Choose colors and styling that match your brand
- Add your logo or branding elements
- Configure button styles (Allow/Deny buttons)
- Set modal size and layout
- Adjust typography and spacing
Preview your modal — Use the preview feature to see how it will appear to users
Step 3: Set up triggers and display conditions
Configure when and where your Permission modal should appear. For detailed information about all available activation triggers and render conditions, see Triggers, Conditions, Frequency & Limits.
Step 4: Configure frequency and limits
Set how often your Permission modal should be displayed to users. For detailed information about frequency options and limits, see Triggers, Conditions, Frequency & Limits.
Step 5: Activate and test
- Save your modal — Click Save to store your configuration
- Assign to configuration — Ensure the modal is assigned to the correct configuration
- Test the modal:
- Visit your website
- Trigger the modal based on your settings
- Verify the display and messaging
- Test the permission request flow
- Verify that native browser permission prompt appears after user clicks “Allow”
- Test on both desktop and mobile devices
- Test different browsers (Chrome, Firefox, Safari, etc.)
Step 6: Monitor permission acceptance and feedback
Once your Permission modal is live, track its performance:
- View permission metrics:
- Navigate to Insights → Feedback

Feedback page - Modals list
- Find your Permission modal in the list
- View key metrics: Views, Permission requests, Acceptance rate, Denial rate
Analyze acceptance rates:
- Track how many users see the permission request
- Monitor how many users grant vs. deny permissions
- Identify trends in permission acceptance
- Compare acceptance rates across different triggers and conditions
Optimize your approach:
- Test different messaging to improve acceptance rates
- Experiment with different triggers and timing
- Adjust design and value propositions based on results
- A/B test different permission request strategies
Export data:
- Export permission data in CSV or JSON format
- Download for further analysis
- Track permission status over time
Value for users
When users grant permissions through your Permission modal, they receive:
- Personalized notifications — Receive relevant updates and alerts even when away from the site
- Location-based features — Access to location-specific content and services
- Enhanced functionality — Use camera, microphone, and other device features for better experience
- Offline capabilities — Access to features that work without constant internet connection
- Improved user experience — More tailored and convenient interactions with your platform
Best practices
- Explain the value — Always explain why you need the permission and how it benefits the user
- Timing matters — Request permissions after users have engaged with your site, not immediately
- User gesture required — For push notifications, ensure the request is triggered by a user action (click, scroll, etc.)
- Don’t be pushy — Respect user choice and don’t repeatedly ask for denied permissions
- Progressive requests — Request permissions gradually as users engage with relevant features
- Clear messaging — Use simple, clear language that users can understand
- Test across browsers — Different browsers handle permissions differently
- Follow browser guidelines — Ensure compliance with browser requirements (especially Chrome’s user gesture requirement)