Surveys
Surveys allow you to create comprehensive surveys using the Question element in Studio. You can collect various types of feedback, opinions, and data from your users through customizable survey forms embedded in Modal Popup’s.
Key features of Survey modals:
- Multiple question types — Create surveys with various question formats including Short Answer, Long Answer, Multiple choice, Checkbox, Poll, Mood meter, Linear scale, Star rating, Email, and Number
- Flexible design — Fully customize the appearance, styling, and layout to match your brand
- Multiple questions — Add as many questions as needed to gather comprehensive feedback
- Data collection — Collect structured responses that can be easily analyzed
- Real-time analytics — View collected survey data in Insights → Feedback
- Export capabilities — Export survey responses in CSV and JSON formats
Common use cases for Survey modals:
- Customer satisfaction surveys — Gather feedback about products, services, or experiences
- Product feedback — Collect opinions about new features or product updates
- Market research — Conduct research to understand user preferences and behaviors
- Event feedback — Collect feedback after webinars, events, or special activities
- User onboarding — Gather information during the onboarding process
- Feature requests — Allow users to suggest new features or improvements
Step-by-step guide: Creating your Survey modal
Follow this complete guide to create, customize, and track your Survey modal from start to finish.
Step 1: Create your Survey modal
- Navigate to Sites setup in the HoodEngage dashboard
- Go to the Modals & Forms tab
- Click Add Modal
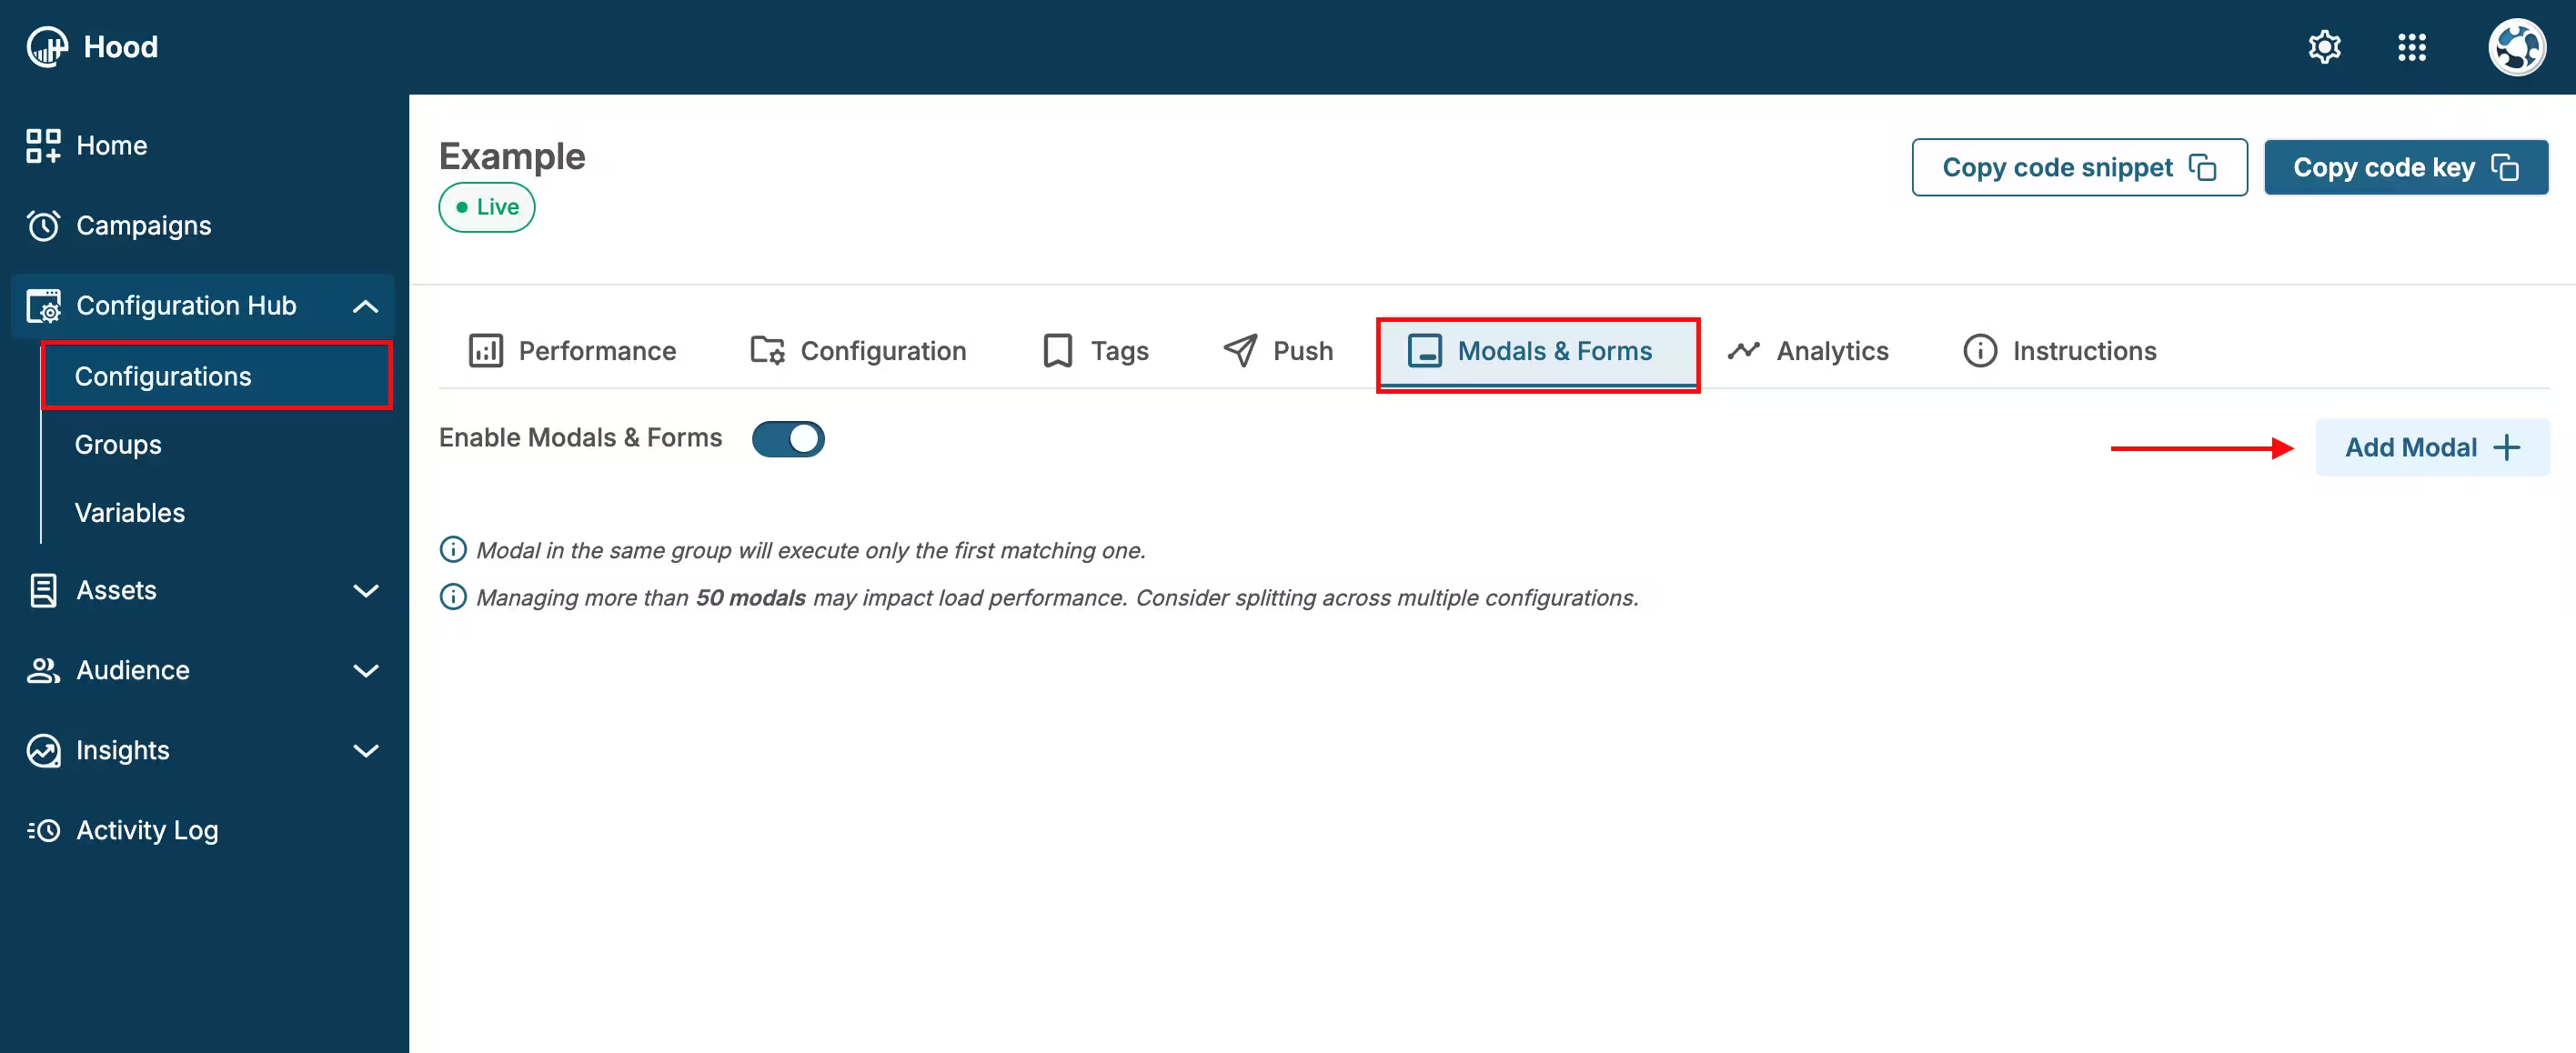
Add Modal
- Choose to either:
- Create Template — Build a custom survey. When you select “Create Template”, Studio will open. Within Studio, select the Question element, which you can then style and configure.
- Use an existing template — Select from templates if you have previously created them
Step 2: Add Question elements
Add a Question element:
- In Studio, drag and drop the Question element from the element palette onto the Canvas
Configure the question type:
- Select the question type that fits your survey needs (e.g., Multiple choice, Short Answer, Long Answer, Checkbox, Poll, etc.)
- Enter your question text (e.g., “What is your favorite feature?”)
- If using Multiple choice or similar types, add answer options (e.g., “Feature A”, “Feature B”, “Feature C”, “Other”)
- The Survey type is determined based on the selected Answer Type
Available Answer Types:
- Short Answer — For brief text responses
- Long Answer — For detailed text responses
- Multiple choice — For single selection from multiple options
- Checkbox — For multiple selections from a list
- Poll — For quick voting or opinion collection
- Mood meter — For emotional response collection
- Linear scale — For rating on a scale
- Star rating — For star-based ratings
- Email — For email address collection
- Number — For numeric responses
Add additional questions (optional):
- Add more Question elements for additional survey questions
- You can mix different question types to create comprehensive surveys
Add a Button element:
- Add a Button element to submit the survey
- Customize the button text (e.g., “Submit Survey”, “Send Feedback”)
- Configure button styling to match your brand
Step 3: Customize the design
Style your survey:
- Choose colors, fonts, and styling that match your brand
- Add your logo or branding elements
- Adjust spacing and layout for better readability
- Ensure the survey is mobile-friendly
Preview your survey — Use the preview feature to see how it will appear to users
Step 4: Set up triggers and display conditions
Configure when and where your Survey modal should appear. For detailed information about all available activation triggers and render conditions, see Triggers, Conditions, Frequency & Limits.
Step 5: Configure frequency and limits
Set how often your Survey modal should be displayed to users. For detailed information about frequency options and limits, see Triggers, Conditions, Frequency & Limits.
Step 6: Activate and test
- Save your survey — Click Save to store your configuration
- Assign to configuration — Ensure the survey is assigned to the correct configuration
- Test the survey:
- Visit your website
- Trigger the survey based on your settings
- Verify the display, question types, and submission process
- Test on both desktop and mobile devices
- Ensure responses are being recorded correctly
Step 7: Monitor survey responses and analytics
Once your Survey modal is live, track its performance:
View survey data:
- Navigate to Insights → Feedback
- Find your Survey modal in the list
- View key metrics
Analyze responses:
- Review individual responses and answer distributions
- Identify trends and patterns in user feedback
- Filter responses by date ranges or specific questions
Export data:
- Export survey responses in CSV or JSON format
- All exported files are available in Insights → Exports
- Download for further analysis in external tools
- Access individual user responses
Optimize based on results:
- Review response rates and completion rates
- Adjust question wording or types based on feedback
- Test different survey lengths and formats
Value for users
Survey modals provide several benefits to users:
- Voice in product development — Users can directly influence product improvements by sharing their opinions and feedback.
- Improved experience — Feedback helps create a better, more user-centric product or service.
- Recognition — Users feel valued when their opinions are actively sought and considered.
- Transparency — Understanding how their feedback contributes to changes builds trust.
- Easy participation — Simple, user-friendly survey interfaces make it easy to provide feedback.
Best practices
- Keep it concise — Don’t overwhelm users with too many questions. Focus on what’s most important.
- Use appropriate question types — Choose question types that match the information you need to collect.
- Clear questions — Write clear, easy-to-understand questions that don’t require interpretation.
- Logical flow — Organize questions in a logical order that makes sense to users.
- Timing matters — Show surveys after users have had a meaningful interaction with your product or service.
- Respect user time — Keep surveys short and focused. Users are more likely to complete shorter surveys.
- Test before launching — Always test your survey to ensure all questions work correctly and the flow makes sense.
- Follow up — Review feedback regularly and communicate how user input has influenced changes.